2017 Apr 04
#model3d
#cut2d
#coding
#dishuBot
#machine
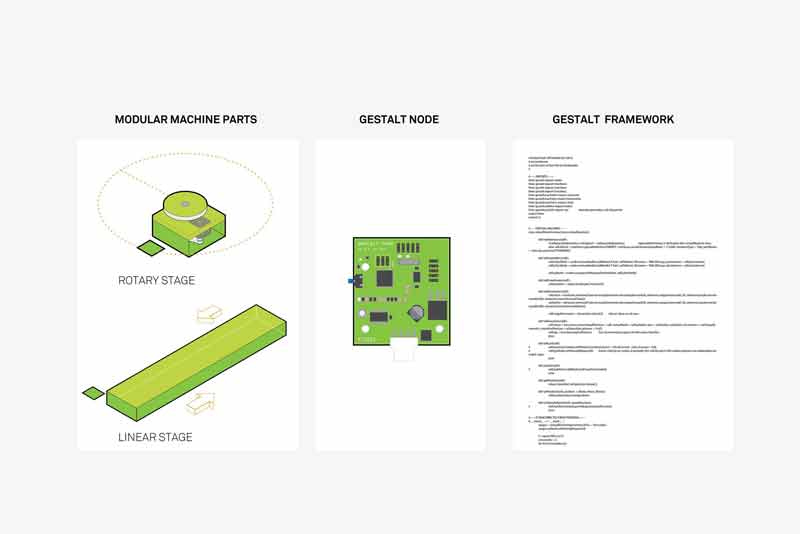
After much intense strategic consternation, we decided to begin our project by developing through the Gestalt framework. The framework is developed; we are beginners. Can we connect rotary stages on either side of a linear stage equipped with a brush effector?
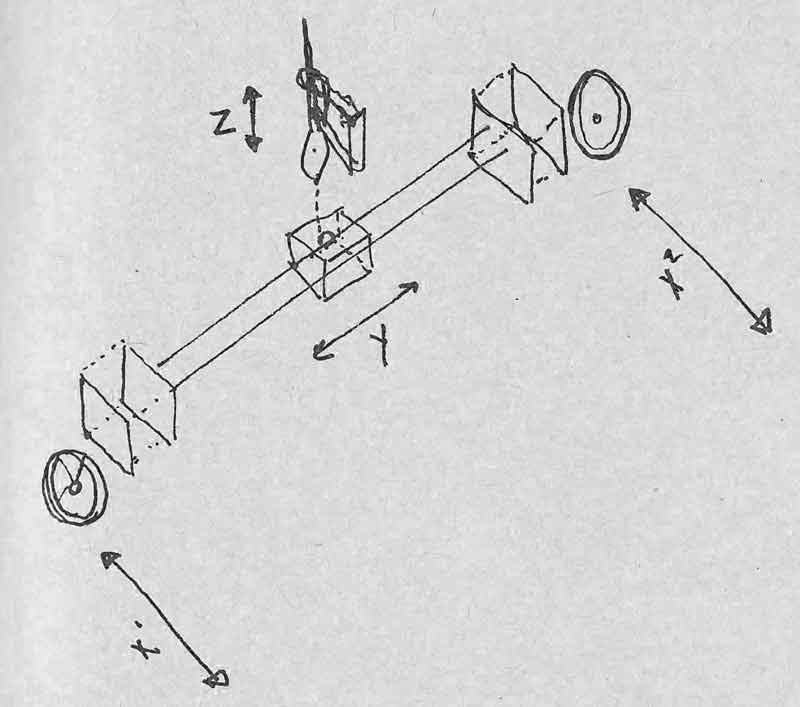
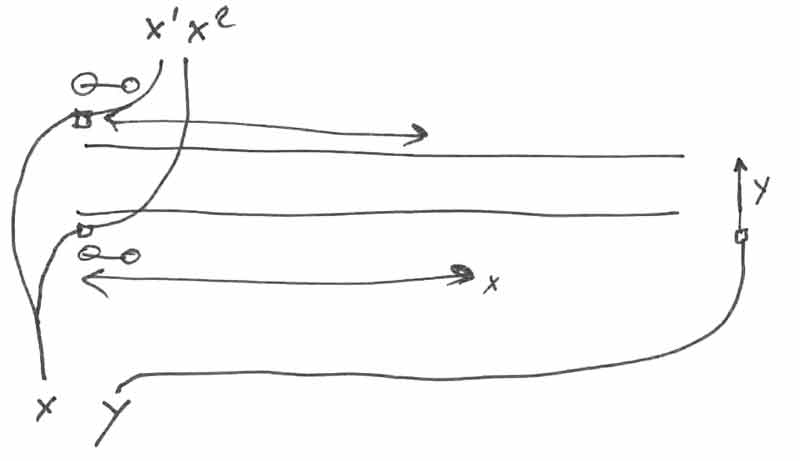
The idea is similar to a common CNC machine. Wheels mobilize the whole assembly along an infinite X axis. A stage holding an effector moves a limited distance between two wheels (Y). The effector moves a minimal distance along the Z axis.
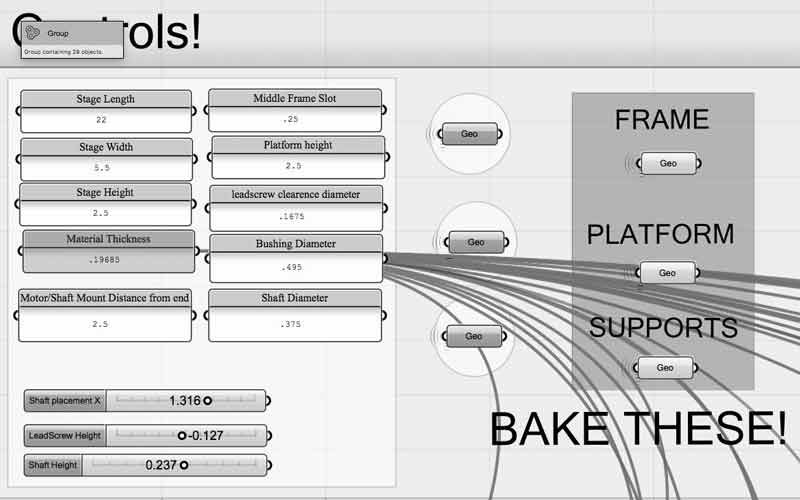
The first step is to fabricate a linear stage. Download the Rhinoceros file and you may need the grasshopper file as well. I had a problem opening the grasshopper file on my MacOS. After opening the file on a recent Windows build and saving it, it is now MacOS ready. I will include this version of the file in my links. Use with caution, while it appears to be in working condition, the graph is thick and I did not double check everything. I had 5mm thick cardboard on hand, so the material thickness was updated to this specification (Gestalt file is formatted in inches). Bake the Frame, Platform and Supports. Do some linework cleanup. Export the file to your laser cut format. If you have 5mm thick cardboard, save yourself some time and use my SVG linked below.
A rounded 813mm x 830mm without padding.
♻ Gestalt Linear Stage 5mm thickness CUT! ♻
♻ Parastage grasshopper MacOS compatible ♻
I had to use a laser cutter from another lab because the biggest piece exceeded our lasercut bed. I rushed optimizing the settings, due to a security guard trying to close shop. That decision lit a small fire that ruined a some pieces. Remember, poor decisions do not make pretty things.
Score: speed55, powerMin80, powerMax85
Cut:   speed10, powerMin100, powerMax100
Cancelled that job. Increased the speed of the laser movement, reoriented the origin and started again. This time no fires and the pieces were mostly cut. Some pieces did not cut all the way through, maybe due to warping. In the future, I might consider cutting along the same lines twice with a combination of less power and greater speed. The settings I used:
Score: speed60, powerMin80, powerMax85
Cut:   speed20, powerMin95, powerMax100
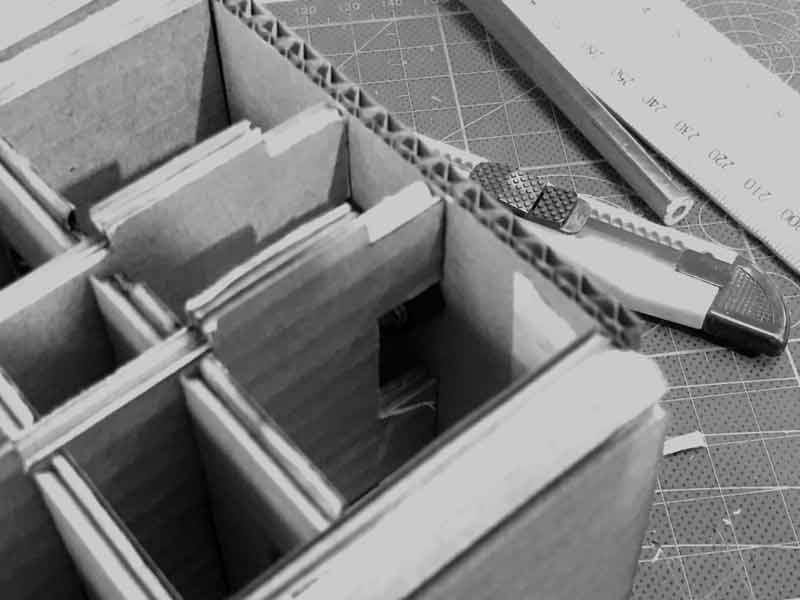
With a boxcutter, I liberated the unfolded Gestalt Stage. Tomorrow I will assemble.
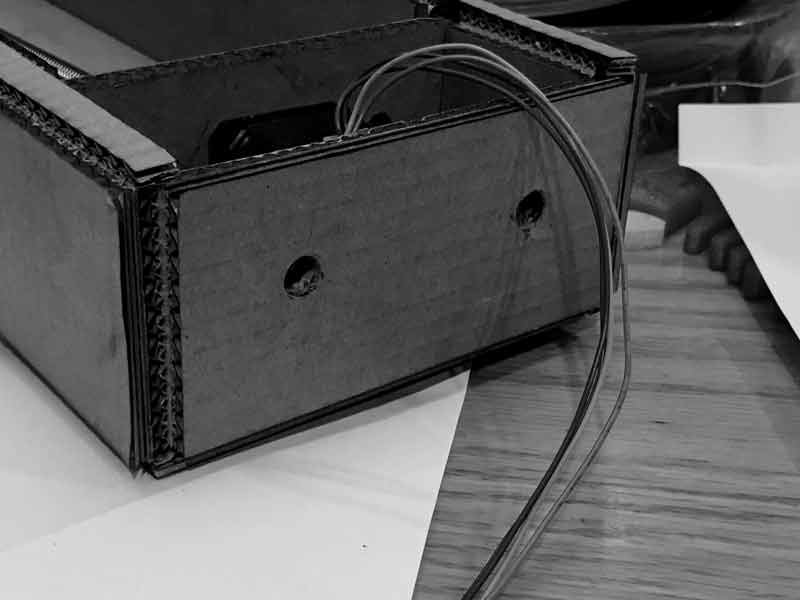
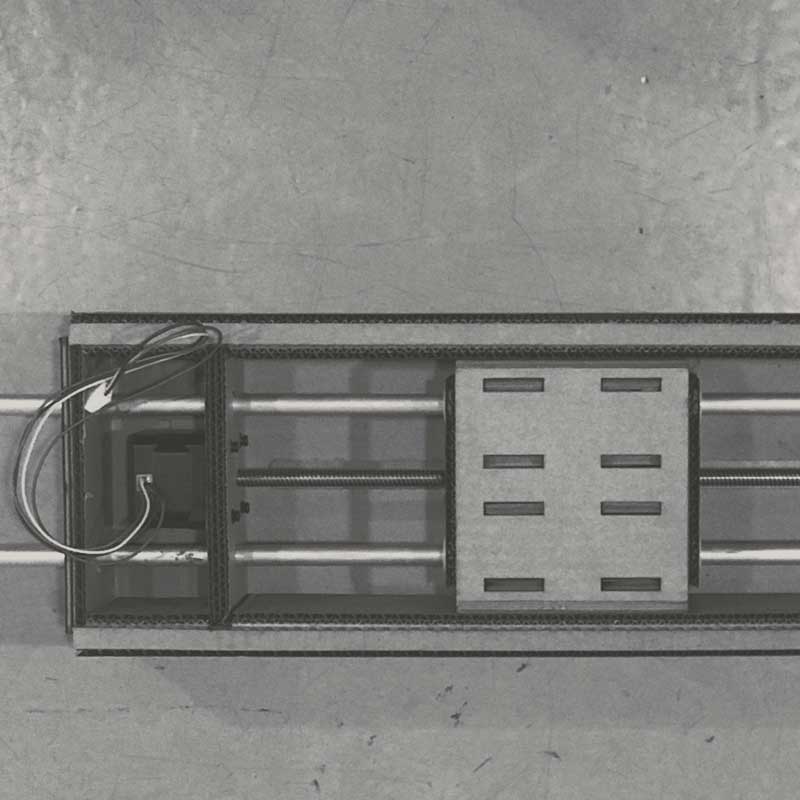
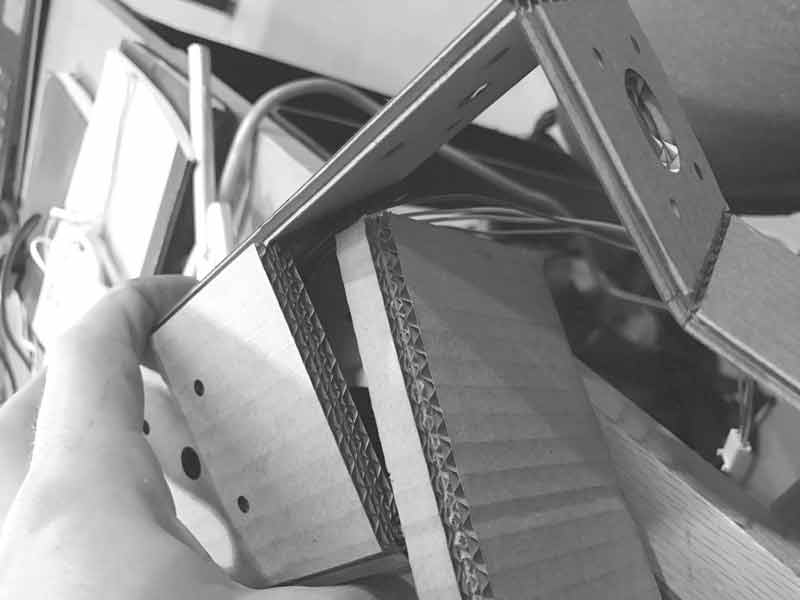
Constructing a Linear Gestalt Stage was fairly straightforward. There were a couple issues which I think may have been related to the 5mm cardboard thickness I used and how the Grasshopper graph accounts for that. I did not encounter any problems that required me to re-cut any of the pieces. First issue, these two holes were not cut on the end of the main piece. The holes are necessary for sliding in the rails. Glad I caught this before I folded the frame.
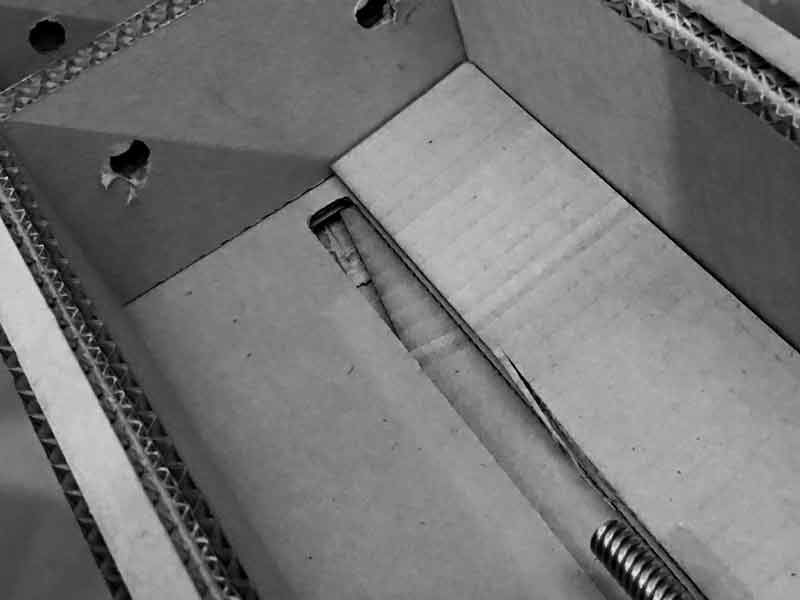
In the inner stage structure, there is not enough space for the piece that grabs the threaded rod attached to the motor. This would be less of an issue if that piece was positioned to the outside, but the cardboard would still need some trimming around the bolt heads.
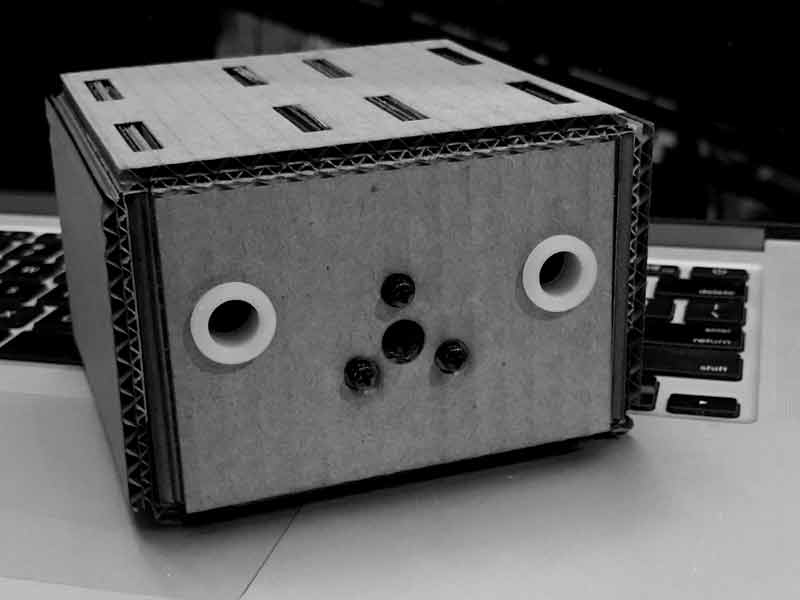
This looks like a face.
In the frame, the stage was out of alignment with the aluminum shafts and leadscrew. There was too much cardboard. I trimmed off the last flap on the frame and some material off the bottom side of the stage.
If I need to fabricate more of this Gestalt module with 5mm cardboard, I can quickly adjust the pattern file to pickup these sizing mods. Regardless, everything is ready to be motorized with this piece of our robot mockup.
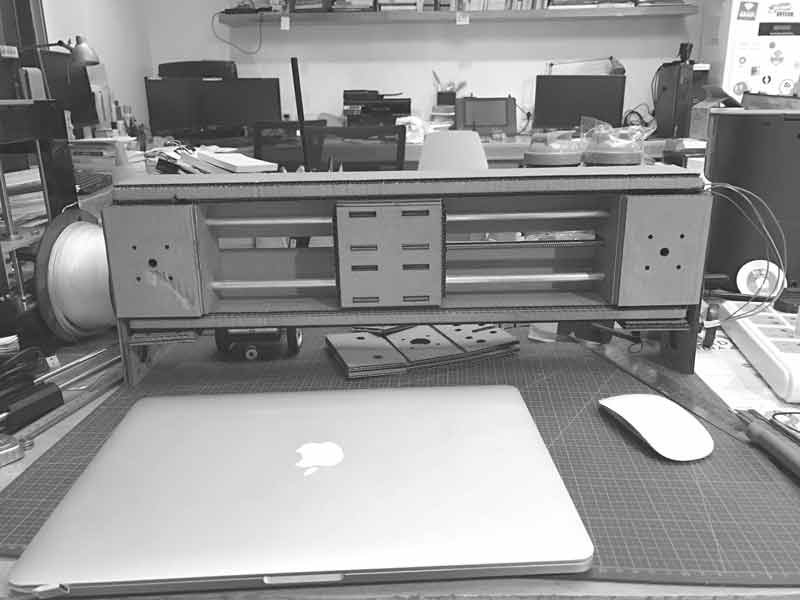
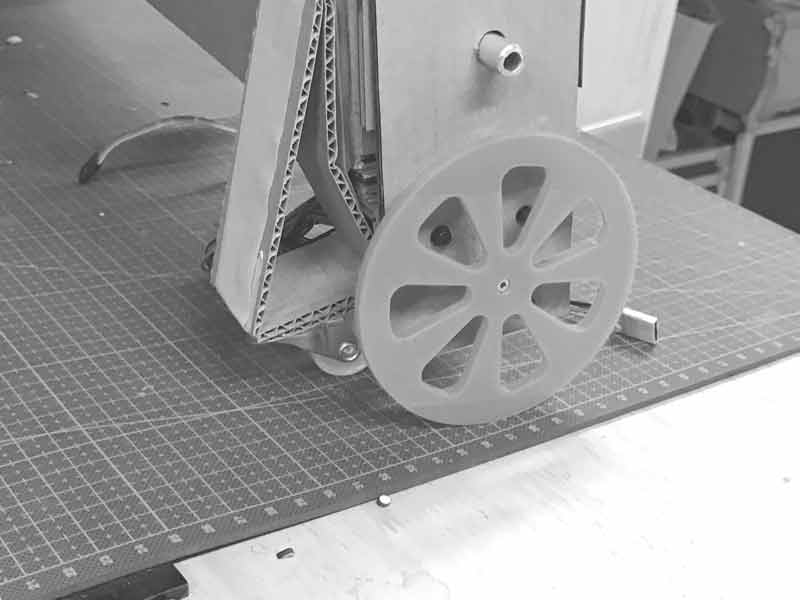
To help with visualizing the other components of the machine, I added low-tech wheels and an end effector. At least it is humorous.
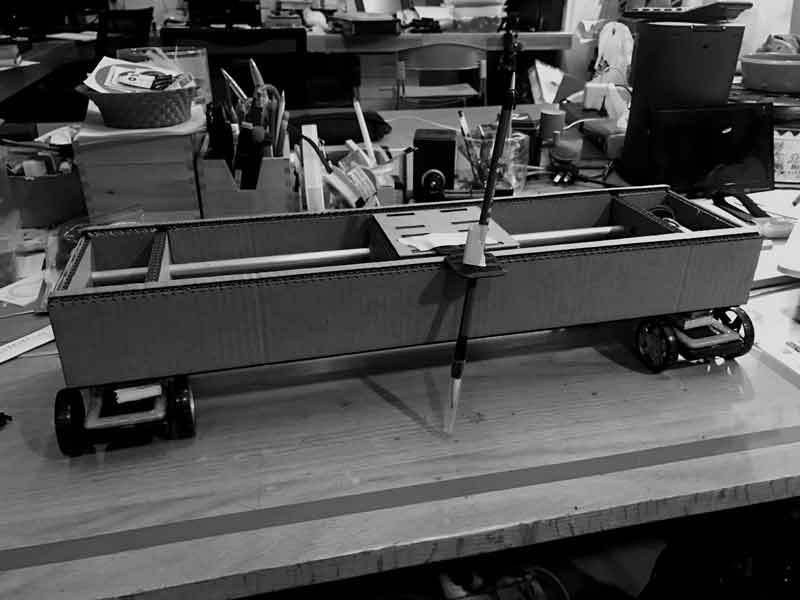
And I tested the movement of the stage using the motor attached to a Gestalt hub and python. While it worked, it was extremely finicky: the motor would become unresponsive after running the script a few times. After, if I disconnected everything and reconnected, it would work again. Plus, we were unable to network multiple nodes.
Update: With the linear stage working, I went to work constructing wheel armatures. Looking at the length of the screw attached to the motor driving the stage, we thought it would not permit a wide enough range of motion on that axis. Therefore, in addition to providing for wheels and motors, I built in attachements for a motor facing forward that could drive a toothed belt to move the stage.
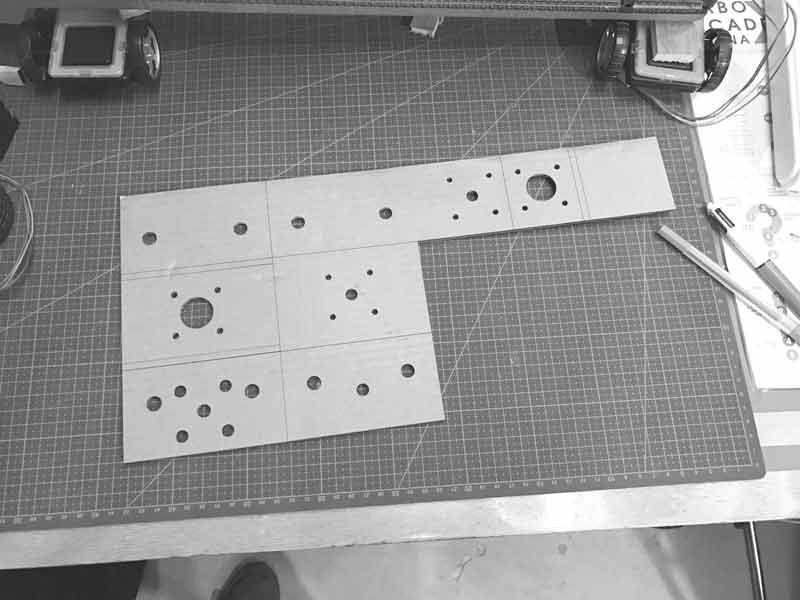
I returned to the rhinoceros file and rearranged some of the elements of the linear stage into a foldable armature using the same 5mm cardboard.
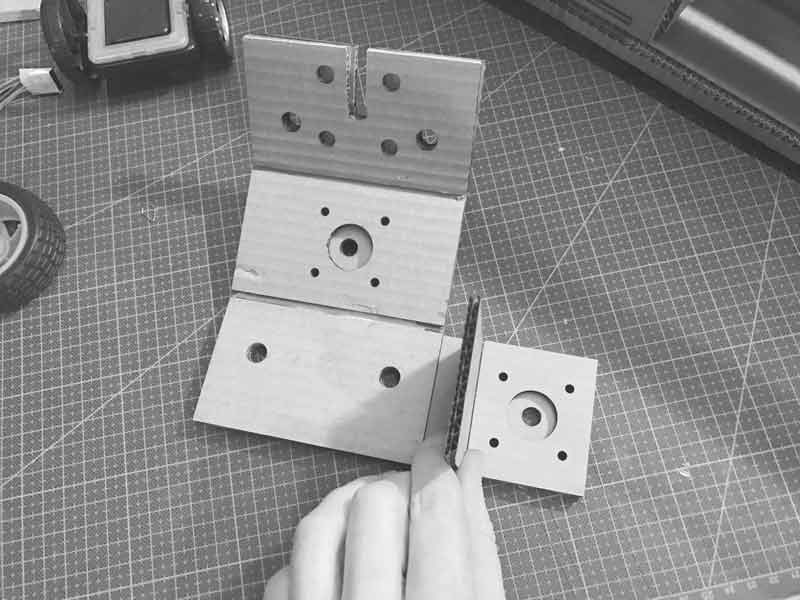
I incorrectly accounted for material thickness in the folds of the inside layer. Fortunately, cutting with the laser cutter is quick. I added the extra width to all the modules within the fold and recut.
Everything fit together tightly without need for extra adhesives.
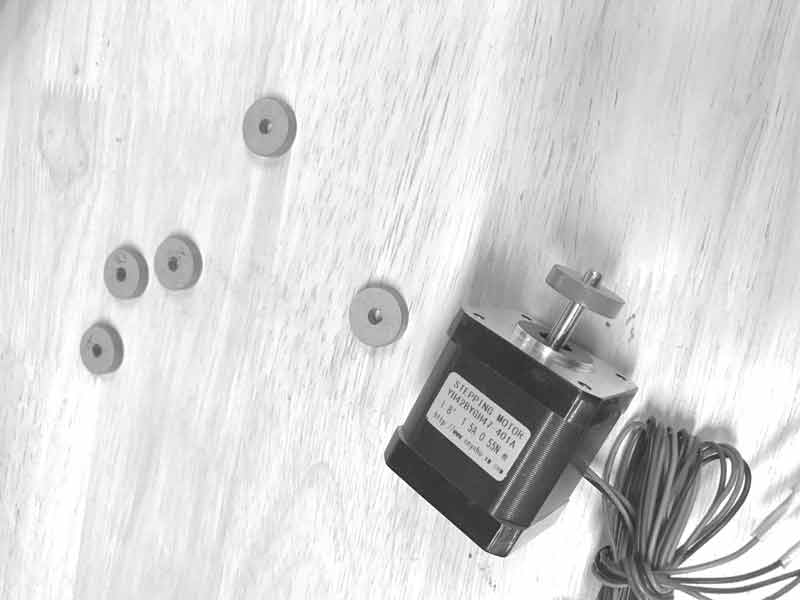
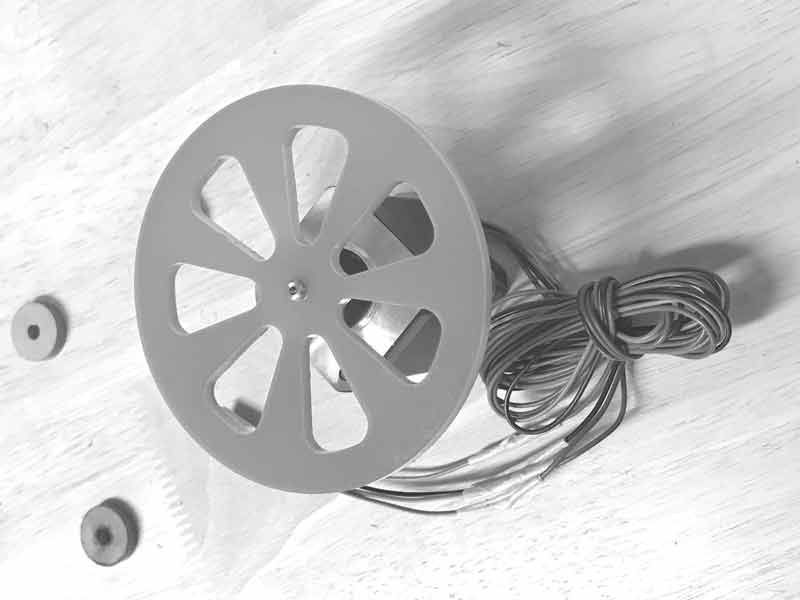
I was anxious to get some kind of testable prototype together for wheels connected to motors before I ended the evening, so I thought a quick solution would be to connect the wheel directly to the motor shaft. This turned out to be more troublesome than expected for a couple of reasons. First, I did not do a kerf test because I thought after cutting one test, I would be able to adjust the dimensions. Ultimately, I was forced to cut many tests. I used 4mm acrylic and cooling after cutting with the laser can change the material size enough to throw off a good fit. Further, the material wears loose after only a few uses. A far easier solution would have been to use a metal connection on the pin which could be screwed in through the face of the wheel. Then the screw holes in the acrylic would not need to be perfect and with the connections spread across multiple points, the connection would retain its fit longer. Nonethelss, for purposes of testing the wheel movement these wheels worked.
I added some multidirectional wheels to to help the machine balance. We hope that the machine will be able to turn and thought to make the wheels on the center of the linear axis. Not a great idea for balance. This caster is not great either.
Carmen printed an effector from a previous OpenDot project. While it will need some adjustment for our machine, it is helpful to at least go through some fabrication and see how one works in our hand.
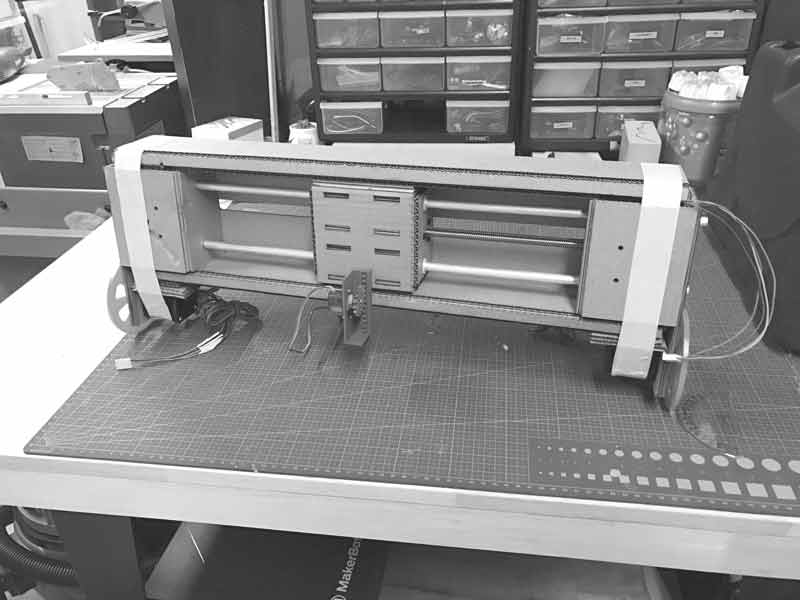
ZhaoWei returned to the lab, wired the motors and tested its operation. He used an Arduino Mega 2560 with a RAMPS shield running GRBL. I will comment more on the programming in another section of this post. All the motors, two for the wheels, one for the stage, one for the effector movement and another for pumping water through the brush are working.
The machine does not balance well, so the next thing I will focus on is improve the wheel mechanics.
I will post links to resources I have found helpful here.
Share this post...
« Previous post :: Machine precedents
Over the past couple months we have been learning to use tools for fabrication and coding. Now, we are faced with the challenge to pull these tools together into a fabbed robot. My initial concept is a Seymour Papert "turtle" inspired drawing robot that can use water to write poetry in Chinese characters on outdoor concrete ground surfaces. First I will survey the drawing bot landscape. Dishu is "earth writing or practicing ephemeral calligraphy on the ground using clear water as ink." The imagined robot would be mobile using legs or wheels, battery-powered, use water through a brush to make...
Next post :: Programming "Hello to the World" with C »
I tested the effectiveness of my build with a C program written by Neil Gershenfeld. The contents of the make file are mostly the same as my previous ATtiny44 board. Because I used the same resonator, the timing fuses are the same. Only the name of the C accompaning C file has changed. Create the hex and out files. make -f hello.LCD.44.make Using my FabISP... make -f hello.LCD.44.make program-usbtiny-fuses and then send the program... make -f hello.LCD.44.make program-usbtiny This feels good. Download project files