The first substance I attempted to cast was Smooth-Cast 300 Series, a liquid plastic with a curing time of just 10 minutes. Here is an overview from the datasheet:
"The Smooth-Cast® 300 Series of liquid plastics are ultra-low viscosity casting resins that yield castings that are bright white and virtually bubble free. Vacuum degassing is not necessary. They o er the convenience of a 1A:1B by volume or 100A:90B by weight mix ratio. The di erences between them are pot life and demold time.
These resins readily accept llers (such as URE-FIL® 3 from Smooth-On) and can be colored with SO-Strong®, UVO® or Ignite® color tints (Smooth-Cast® 325 series accepts pigments better than the Smooth Cast® 300 series). Fully cured castings are tough, durable, machinable and paintable. They resist moisture and mild solvents. Applications for Smooth-Cast® 300 Series Liquid Plastics include reproducing small to medium size sculptures, making prototype models, special e ect props and decorative jewelry."
Start by analyzing the datasheet. I am using Smooth-Cast 300. 3 minutes of pot life and ten minutes for curing. Rapido. That means I need to mix the two liquids, 1:1, stir, add color and cast inside of three minutes.

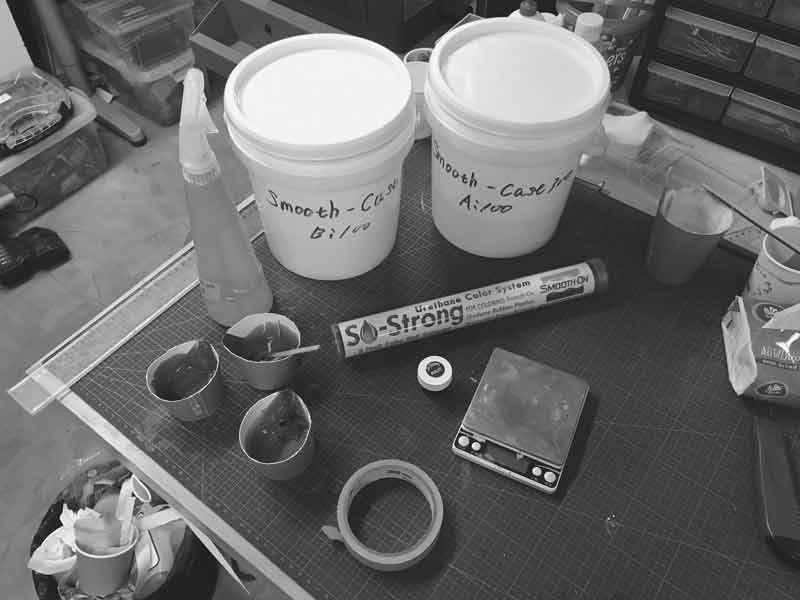
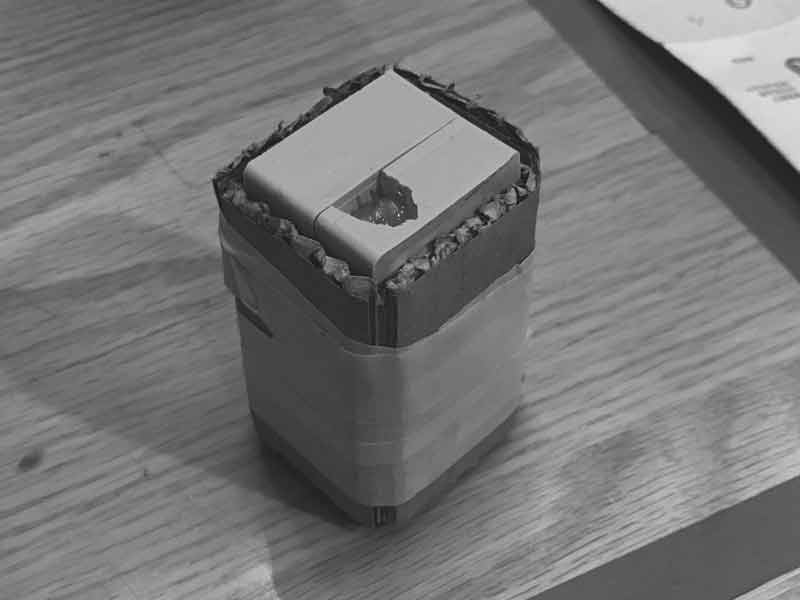
Gather the materials. Smooth-Cast 300 mixes well with S-Strong colors. I take a dab of color on my stick and mix it with the A side of the plastic before adding the B side. Then, spray some of the release agent into the mold and seal it together. I used cardboard to make the stresses even across the mold.
This time, I checked the volume in my original Rhinoceros file.
Command: Volume
Volume = 10924.7095 (+/- 1e-05) cubic millimeters
!:1 mixing volumes so I need minimum 5.5g each. I used 7g to be safe. Mix the two sides, and pour it into the mold. As I am pouring, I take time to move the mold around to try to get all the air bubbles out and pre-soak all the interior surfaces before filling.
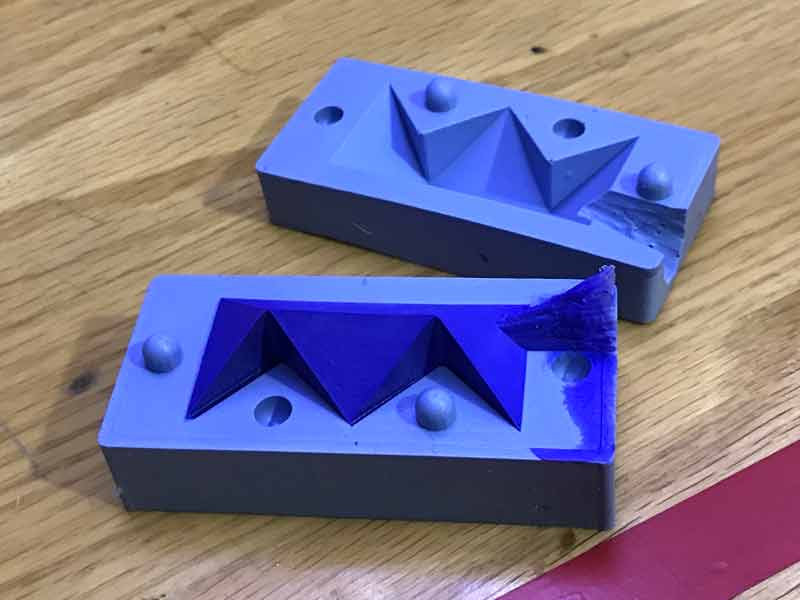
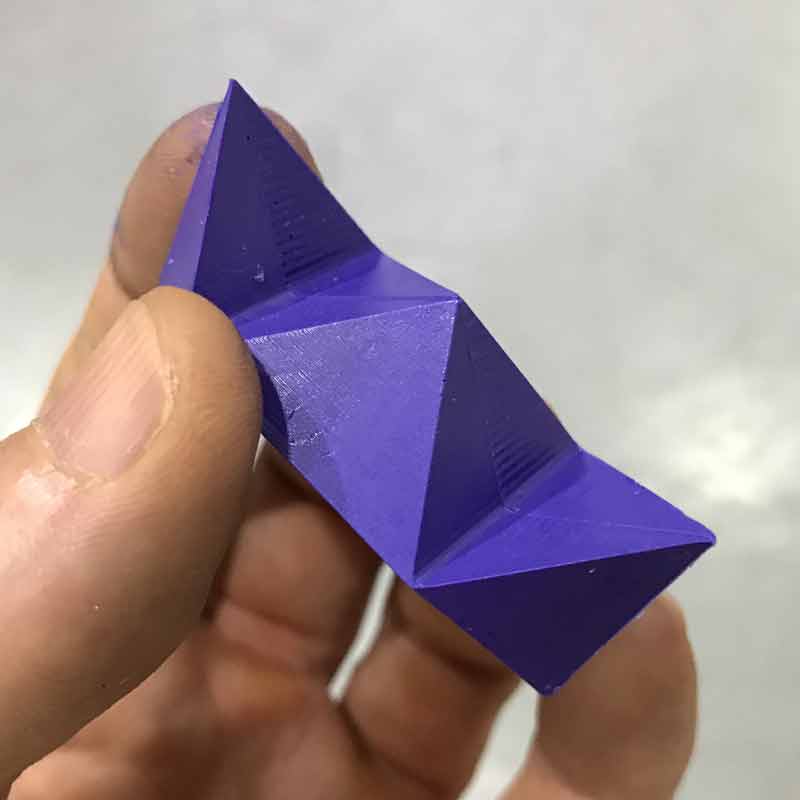
Wait ten minutes from the time you first mix the materials together and then open and take a look. My first cast was very nice. I think the channel for casting is a little too big. In the next mold I am making I will try something smaller.
Humbling myself after an initial success is good. From the time of mixing the plastic to casting, I wasted too many precious seconds. While casting, the material stopped going into the mold so I thought it was finished. Turns out, it was solidifying inside the mold before filling.
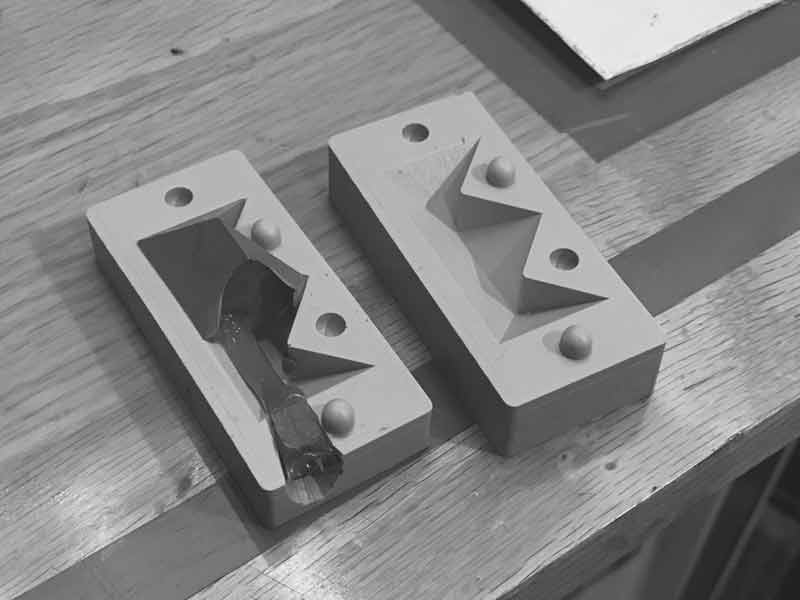
Here the scar from cutting away the extra material can be clearly seen. Unfortunate.
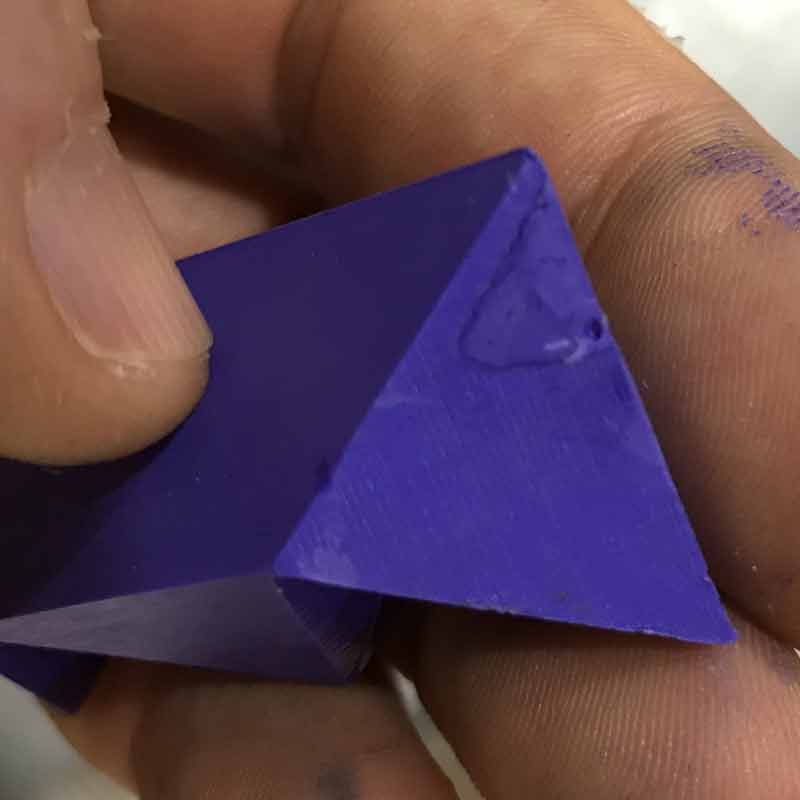
Otherwise, looks nice. I did not notice the milling toolpaths along the inside surfaces of the piece. When the puzzle is locked together, these surfaces are invisible. Regardless, I will hit those with some sand paper in the wax mold before casting any more oomoo.
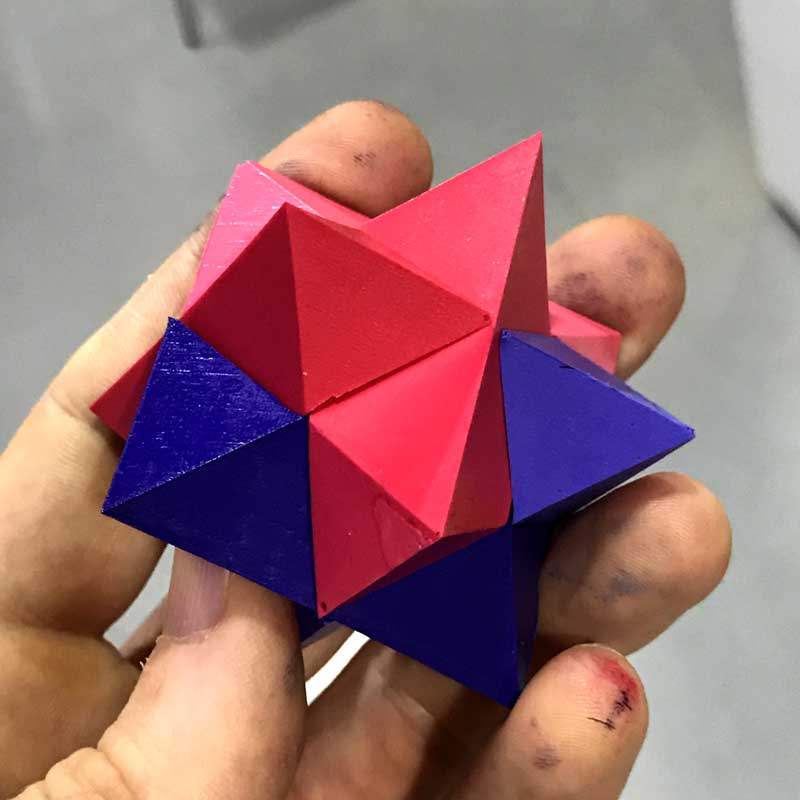
And after making a bunch...
Download project files
I will post links to resources I have found helpful here.
Share this post...
« Previous post :: ...Oomoo...
"OOMOO® 25 & 30 are easy to use silicone rubber compounds that feature convenient one-to-one by volume mix ratios (no scale necessary). Both have low viscosities for easy mixing and pouring . . . vacuum degassing is not necessary. Both products cure at room temperature with negligible shrinkage." These silicones also have great tear strength. Oomoo is a two part substance which requires thorough mixing before use. I am using Oomoo 30, which has a ration of part A : part B, 100 : 130. If you trust the buckets, you can do that. You might want to check that...
Next post :: Phototransistor breakout board »
In a previous project based on an ATtiny44 I added an expansion pin on PA2 (ADC2/AIN1/PCINT2). I think I can use that pin to take readings from a phototransistor; making this a nice little project to get generate some momentum. Remember: spiral development. First I examined Neil Gershenfeld's ATtiny45 schematic, the ATtiny45 datasheet, the ATtiny44 datasheet, andthe OP580DA phototransistor datasheet. Because both pins are compatible with Analog to Digital Conversion (ADC), the phototransistor should work with my ATtiny44 board. The first step is to design a board for the phototransistor, resistor, voltage, ground, and logic connections. I use Autodesk's Eagle....