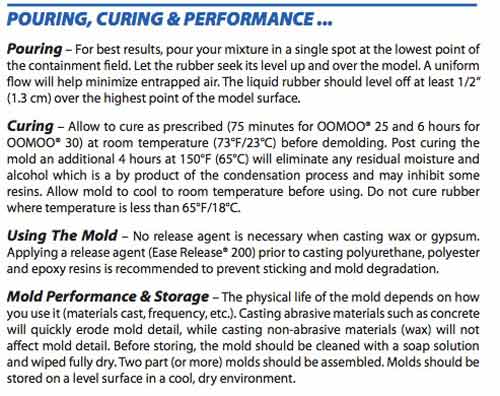
"OOMOO® 25 & 30 are easy to use silicone rubber compounds that feature convenient one-to-one by volume mix ratios (no scale necessary). Both have low viscosities for easy mixing and pouring . . . vacuum degassing is not necessary. Both products cure at room temperature with negligible shrinkage." These silicones also have great tear strength.
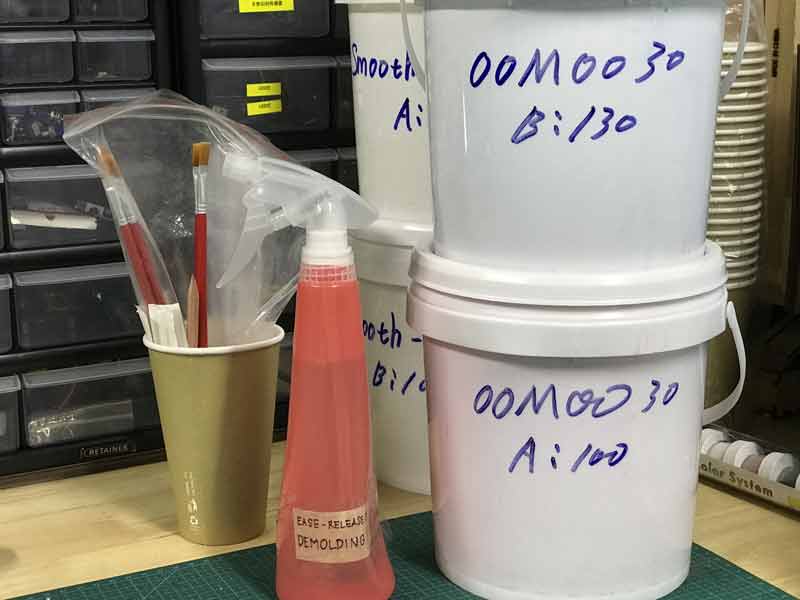
Oomoo is a two part substance which requires thorough mixing before use. I am using Oomoo 30, which has a ration of part A : part B, 100 : 130. If you trust the buckets, you can do that. You might want to check that datasheet though.
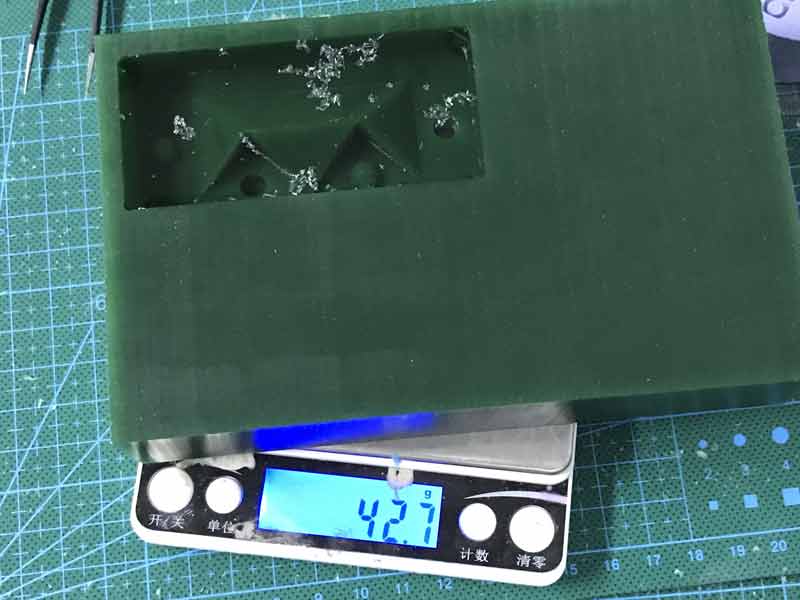
I filled the form with water to get an idea of how much oomoo I would have to mix. That word will never get old.
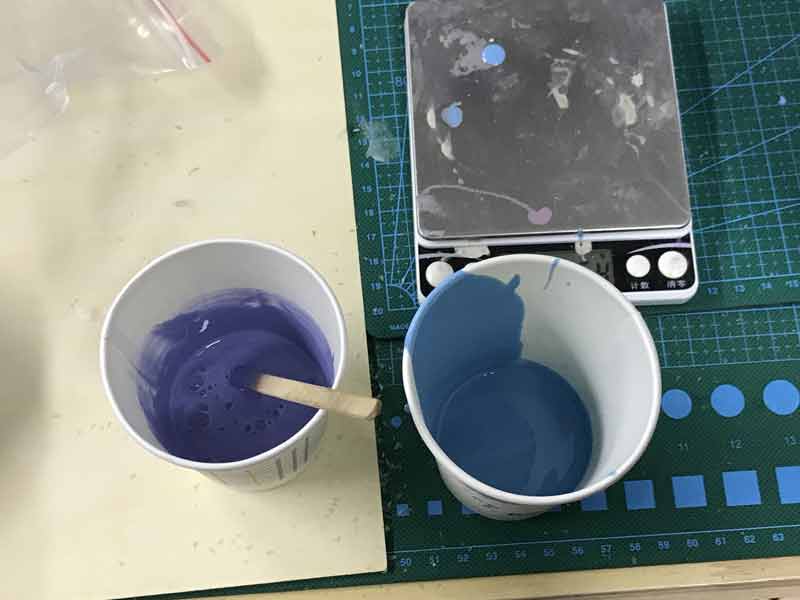
After some maths, I had poured two paper cups with two parts. Paper cups are great for mixing small amounts. They are flexible and have hard corners and straight sides making them easy to scrape. Stir the two together thoroughly. Try to get the air bubbles out, scrape all the sides and watch the color change.
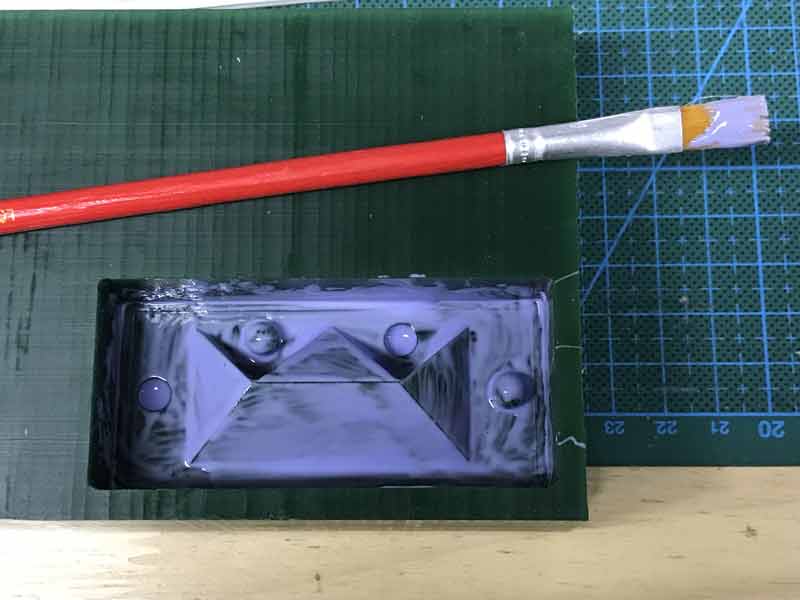
I primed the mold by painting some of the oomoo onto the critical surfaces. Hopefully this helps me to avoid air bubbles in these areas.
After slowly filling the form with my oomoo mixture, I shaked and pounded the hell out of it for several minutes to entice air bubbles to the surface.
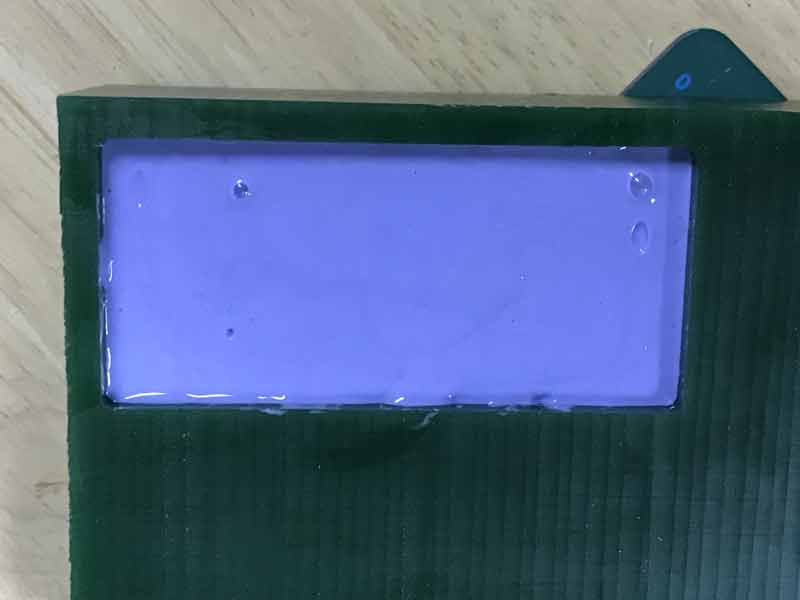
After an hour, you may see the edges start to peal from the wax and when touching the oomoo, it is no longer sticky. You can even slowly peal the edges back with your fingers to get an idea of the state of curing of the oomoo. Curing of the oomoo: one of my favorite D&D spells. When the time is right, whip it out.

I released the oomoo after 2 hours. That may have been rushing it becasue the datasheet recommends six hours before pulling the mold and another 4 hours of post curing.
Looks good. Rinse and repeat. I will set it and pull the other half of the mold in the morning.
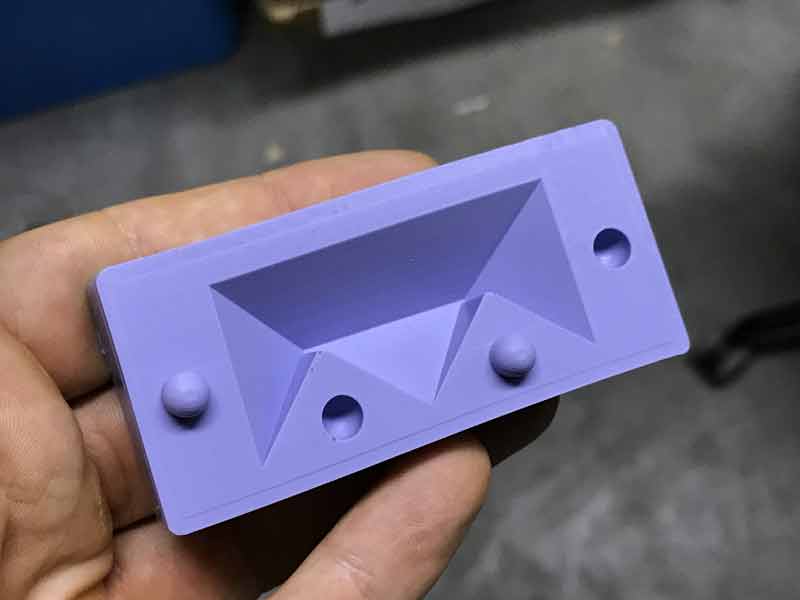
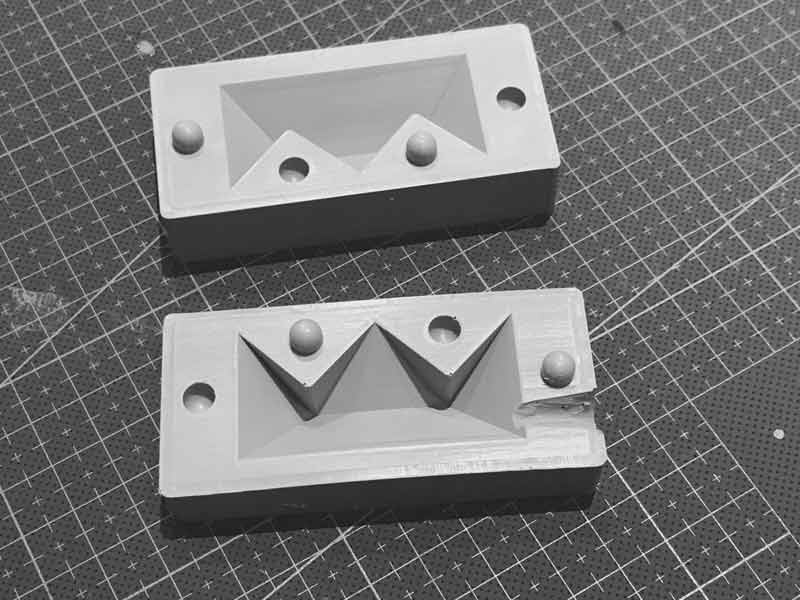
The second mold is better than the first. I used more oomoo accidentally when pouring for mixing, and the thickness seems to help. Also, this mold had proper time to cure inside the form. The first mold is ever so slightly curved and the second not. I cast a third immediately after pulling this one.
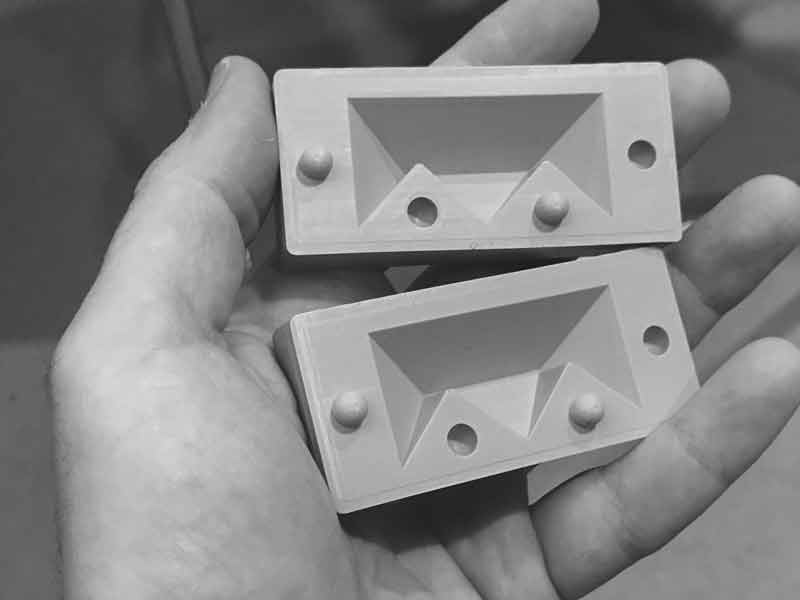
The fit is great.
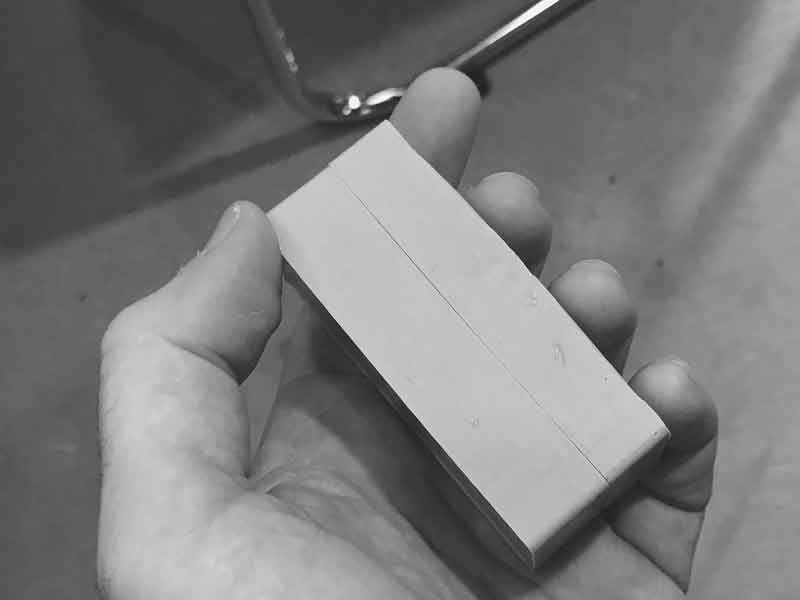
Using a small box cutter, I removed a channel for casting. The first time trying to use this channel, I had problems getting liquid plastic to pour through the bottom side of the hole so I doubled the size of it. For the liquid plastic, it might be a little too big now.
Download project files
I will post links to resources I have found helpful here.
Share this post...
« Previous post :: Star puzzle : Child's play?
For my niece's birthday, I three-d printed a star puzzle. The toy however could never be dismantled after I muscled it together due to poor printer calibration on my part (a running theme in this blog). Further, duplicating the toy many times over comes with the time factor of three-d printing. Hint : slow. So, I thought it would be fun and good proving grounds to revisit this project in this exercise. And, the other day she asked if I had made the better version of her toy yet and gave me no leniancy for time spent building my first...
Next post :: Liquid plastic : Smooth-Cast 300 Series »
The first substance I attempted to cast was Smooth-Cast 300 Series, a liquid plastic with a curing time of just 10 minutes. Here is an overview from the datasheet: "The Smooth-Cast® 300 Series of liquid plastics are ultra-low viscosity casting resins that yield castings that are bright white and virtually bubble free. Vacuum degassing is not necessary. They o er the convenience of a 1A:1B by volume or 100A:90B by weight mix ratio. The di erences between them are pot life and demold time. These resins readily accept llers (such as URE-FIL® 3 from Smooth-On) and can be colored with...