Tags
#composites
#model3d
#pureImagination
#mold
Pure Imagination
- Environmental monitoring with online data logging to Thingsv
- Inventory
- Hessian/ burlap/ crocus composites
- CNC milled wood frame
- Grow monitors | What watches the watchers?
- Grow module | Design and fabrication
- Grow Module | The science
- Processing Light Graph
- Milling a composite mold
- Composites : Modular growth, testing
- Bio-electro-chemistry
- Bioelectrochemical testing pod
- LCD x Arduino
- Precedents
- Discussion
- Design, Materials and Methods
- History : Early concepts
2017 May 09
#composites
#model3d
#pureImagination
#mold
Composite materials are made of two or more constituent materials, each with significantly different, yet complimentary, physical and or chemical characteristics. When combined into a composite, the team of materials is greater than the sum of its components.
I started the project by mocking up a form in Autodesk Maya. The form is like bamboo in that it grows in sections and has openings to contain the moss. At this point, rather than spending much time modeling this object, I would like to jump into making composites becasue it is my first time.
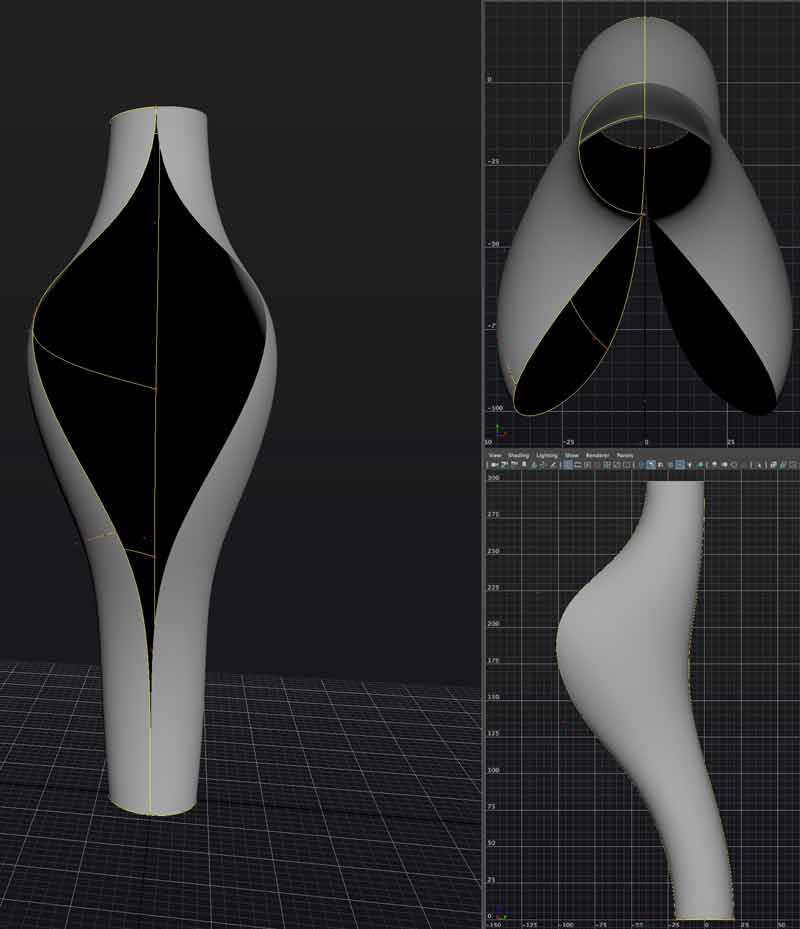
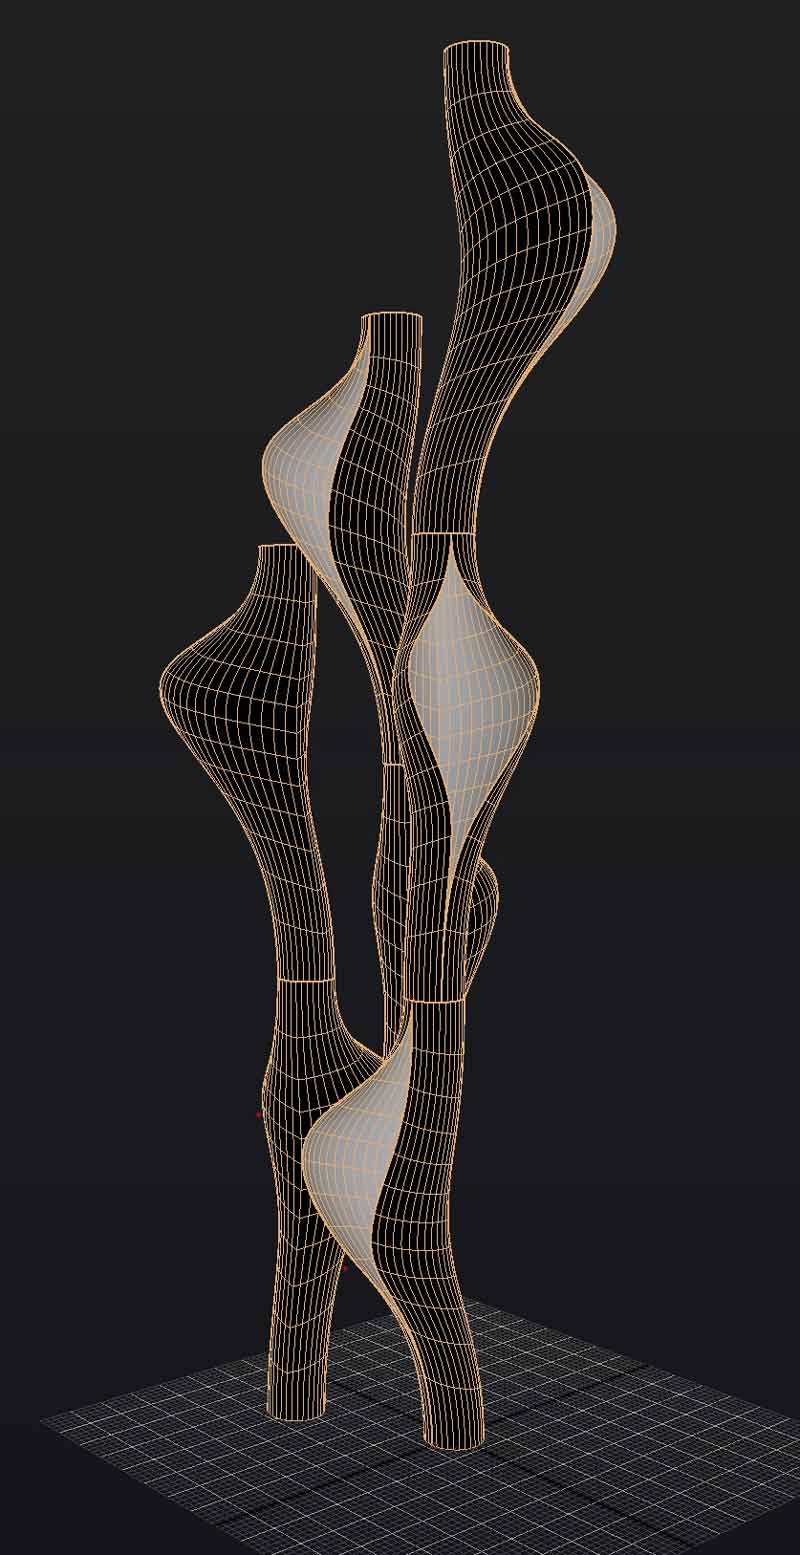
This is a little mockup of what it might look like aggregated. Plenty of room for development.
I sketched two forms to get me started. The first is a positive negative form which would require four pieces to be milled. I will mill these pieces with quick finishing as I am just trying to get experience with composites. I am thinking about trying to mill from multiple directions in which case I could cut out an inside surface at the opening. Plus, I have not tried moving a mold around and this will only be using cheap foam. Screwing up would not be expensive. I might have just talked myself into it. The problem I have with this mold is the inside would be probably be stuck in the composite and not useable multiple times. Finally I will clamp this together during curing.
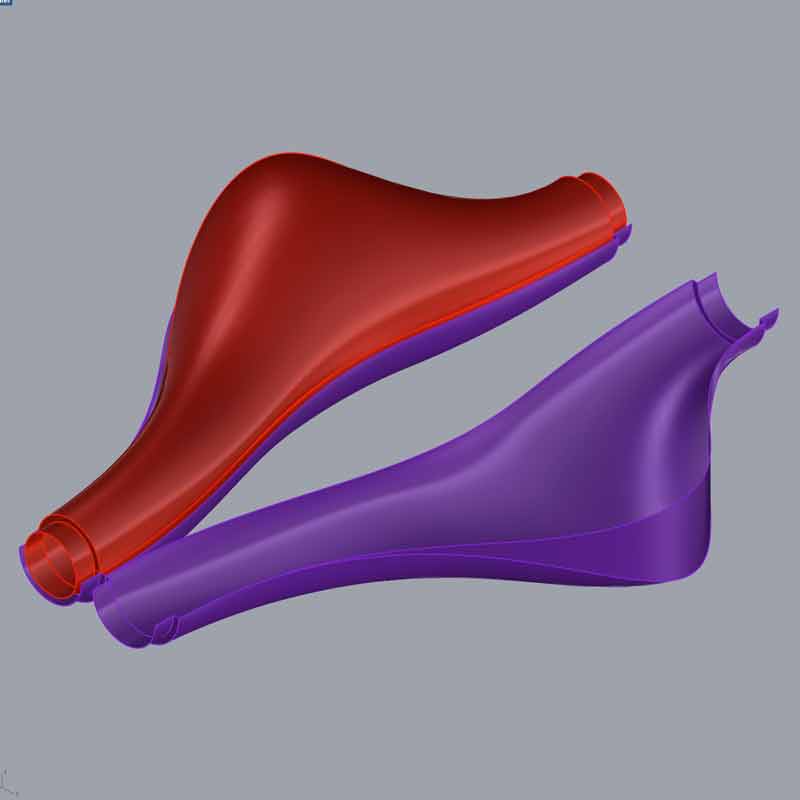
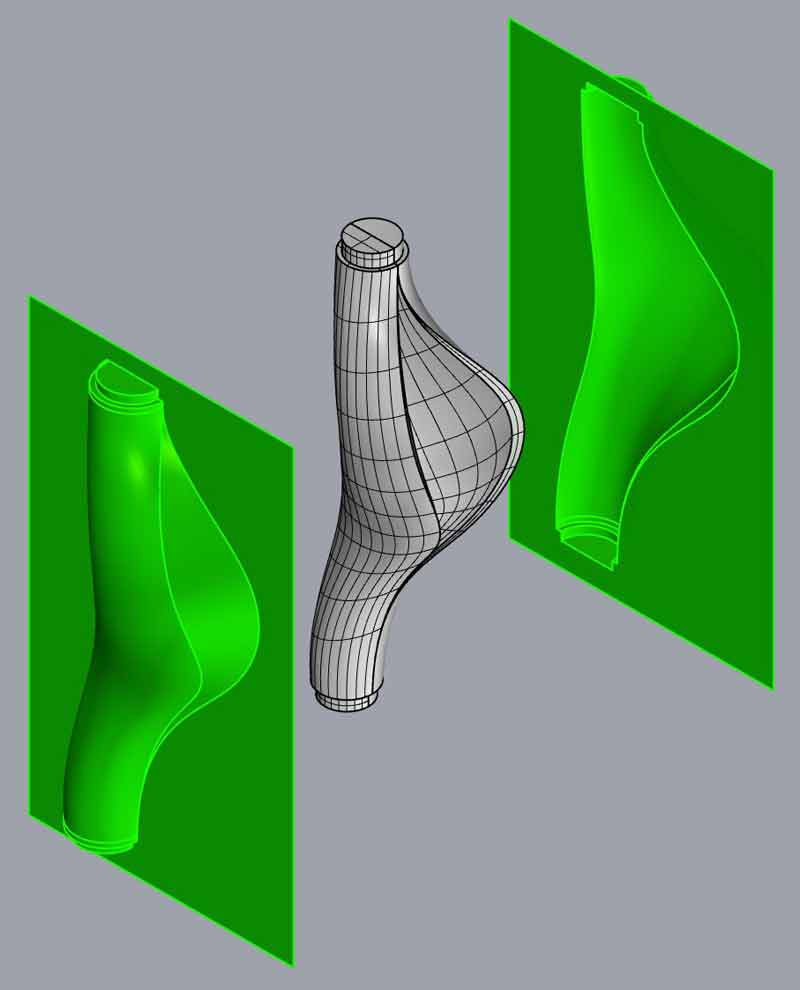
I updated the mold a bit to challenge myself in milling. Why not? The white portion is two, two sided milled pieces. The composite surface will wrap around this object. Then the two green molds have extra space to compensate for the thickness of burlap. These will squeeze the extra resin from the burlap while curing. Four molds, six milled surfaces. Given that the center portion cannot be removed and reused after the composite has cured, this design could just as easily be milled from another finish material. For reproduction, it might be better to slip cast.
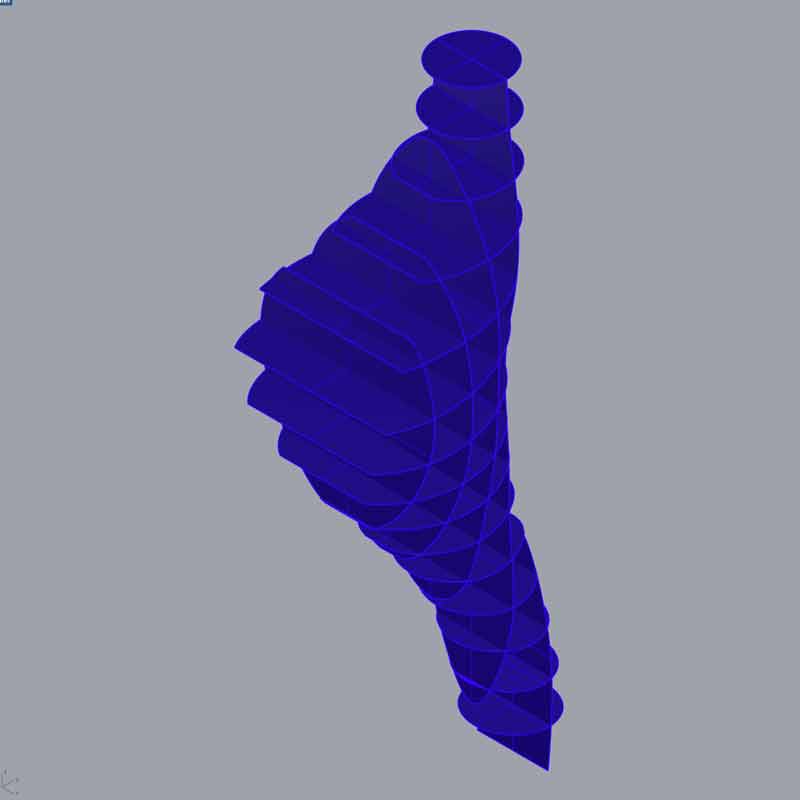
This second form I will polish a bit before I execute. I will make a 3D grid with planar laser cut pieces of cardboard and then fiberglass around. I intend to update this model with some detail in the opening and I will add detail in some locations rather than having a uniform model. This model I will vacuum bag during curing.
I will post links to resources I have found helpful here.
Share this post...
« Previous post :: Bio-electro-chemistry
The fabrication demands of this project are far less than other aspects. Keep it simple. Spiral develop. I essentially want an open-faced cube in acrylic. I will develop a grasshopper, parametric model with variables for overall dimensions, finger joint size, laser kerf, bolt and other holes (unrelated to box adhesion). The prototype is based on the work of Paolo Bombelli, et al. This is the desired composition. The pot, plastic fixture and possibly rubber washers will be laser cut and Jakob Skote's Moss Powered Wifi Jammer project. Excellent work. Visit them. Fast-forward a little in time and I have a...
Next post :: Milling a composite mold »
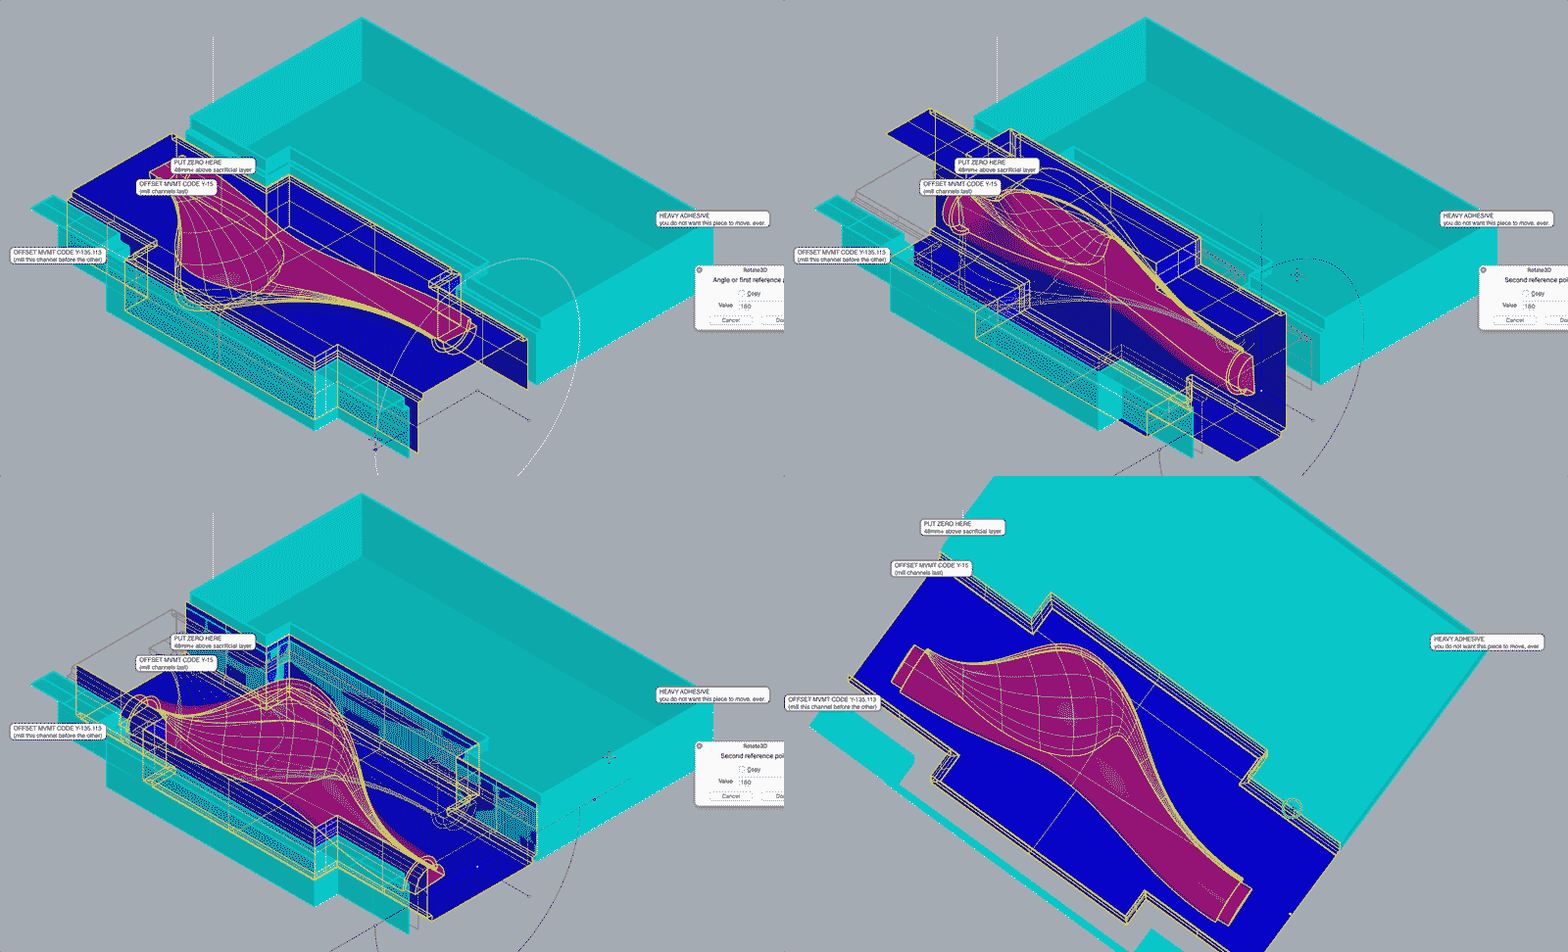
I am preparing a mold of four parts: two outside halves and two inside halves. Then I plan to make a burlap plus resin composite surface around the two inner halves. Finally, I use the outer halves to compress the composite as it cures. I have yet to try milling multiple surfaces from one block of material. Well, until today. The inner halves each require milling on two sides of the material. I sized the molds to the constraints of our lab's Roland MDX-40A benchtop CNC machine. The XY maxes are 305mm according to the manual. Z max is dependant...
