Tags
#composites
#pureImagination
#mold
Pure Imagination
- Environmental monitoring with online data logging to Thingsv
- Inventory
- Hessian/ burlap/ crocus composites
- CNC milled wood frame
- Grow monitors | What watches the watchers?
- Grow module | Design and fabrication
- Grow Module | The science
- Processing Light Graph
- Milling a composite mold
- Composites : Modular growth, testing
- Bio-electro-chemistry
- Bioelectrochemical testing pod
- LCD x Arduino
- Precedents
- Discussion
- Design, Materials and Methods
- History : Early concepts

2017 Jun 28
#composites
#pureImagination
#mold
To make the composite surface, I will combine hessian with a two-part resin which takes about thirty minutes to set and five hours to cure. This job is messy business and I did not have gloves or time to get gloves. That was a bad idea, first, not many photos. Second, the resin gets very hot in just a few minutes, trial by fire. Finally, it is nearly impossible to get off your hands. After countless soapings, I resorted to scrubbing my hands with coarse hair brush/ soap combo and then wearing (different) gloves for the next few hours because my fingers were too sticky. Do not do that.
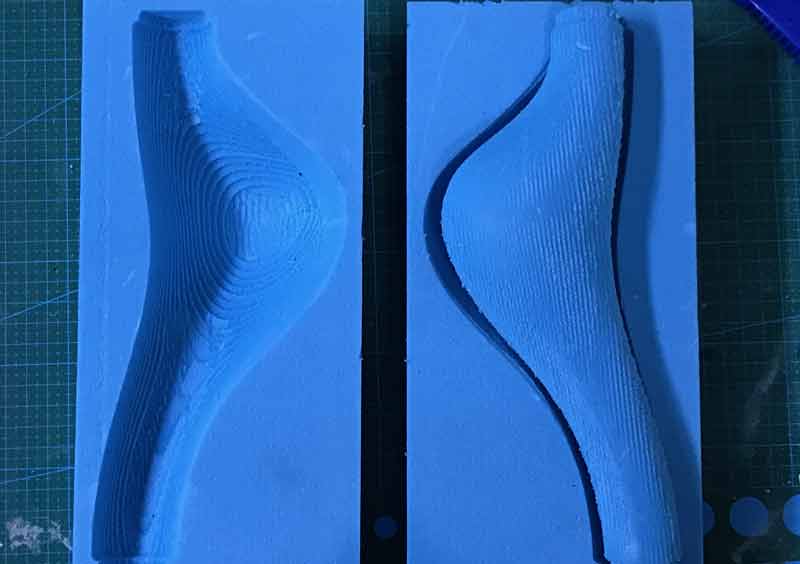
This is how the molds work. It is difficult because there is a lot of curvature on a small surface. There are better ways to plan cutting patterns to optimize the positioning of the material when wrapping the form but I am just going to dive in and cut on the fly.
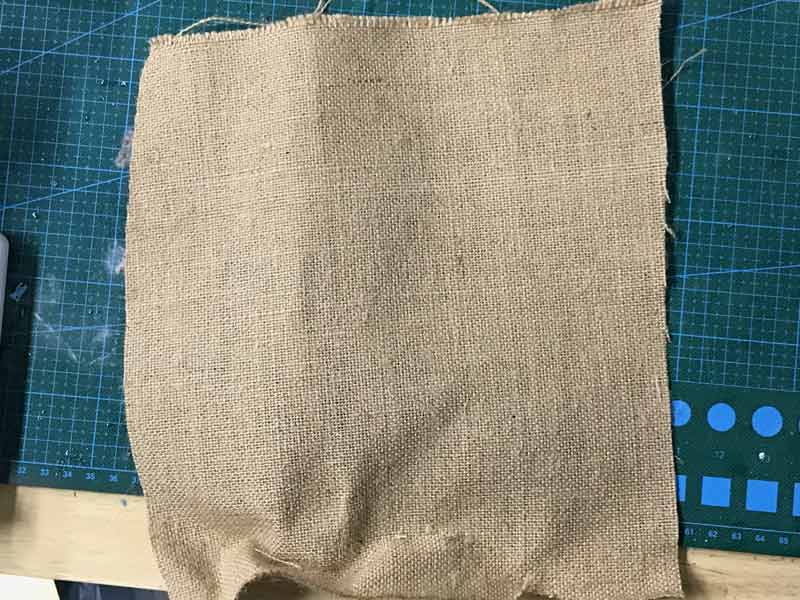
Approximately cut a couple pieces of material to the size of the form.
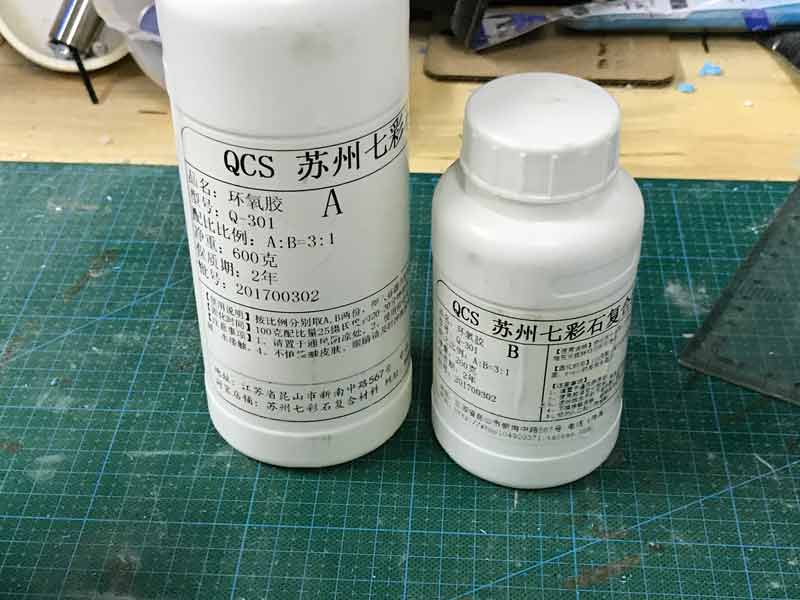
Mix the resin. This one is 3 parts A to one part B. Mix thoroughly.
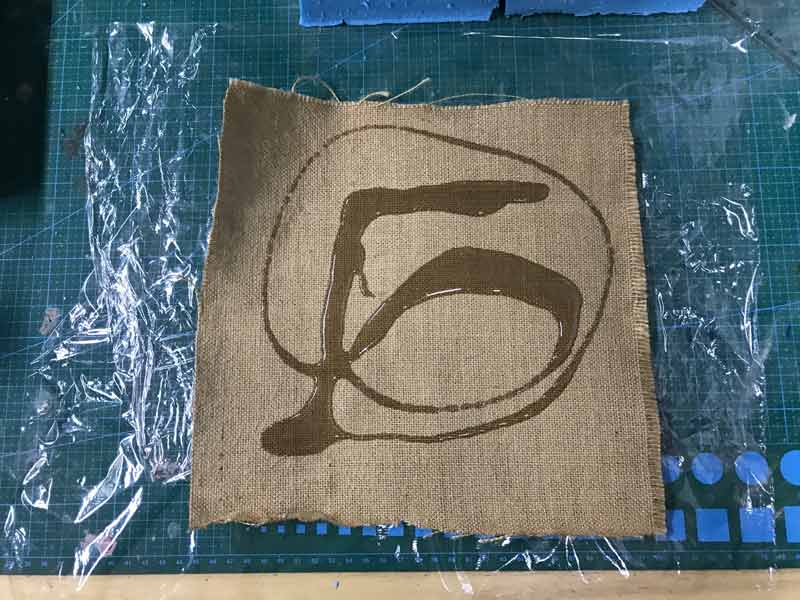
Then begin spreading the resin through the entiriety of the fabric.
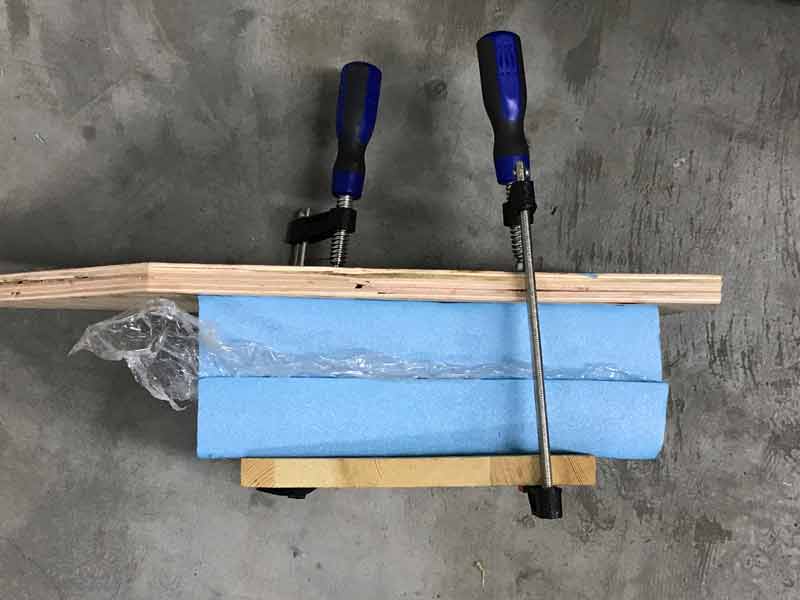
Through the next couple steps my hands were too messy to take photos. Effectively, I wrapped the inner portion of the form with the resin soaked crocus. I ensured all the form was wrapped in two layers because in previous prototypes in our lab, we found 2 layers to be a sufficiently hard composite. As I wrapped the form, I cut away triangles of material, otherwise known as darts. Admittedly, it was a bit rushed and for the next iteration, I will plan the material preparation to greater effect. Finally, I put a little plastic wrap on the surface of the outside portions of the form and sandwiched the burlap wrapped inner form. At last, clamps.
After about 18 hours I opened the mystery box and cleaned away the plastic wrap. Not bad. The resin was squeezed between the seam of the form.
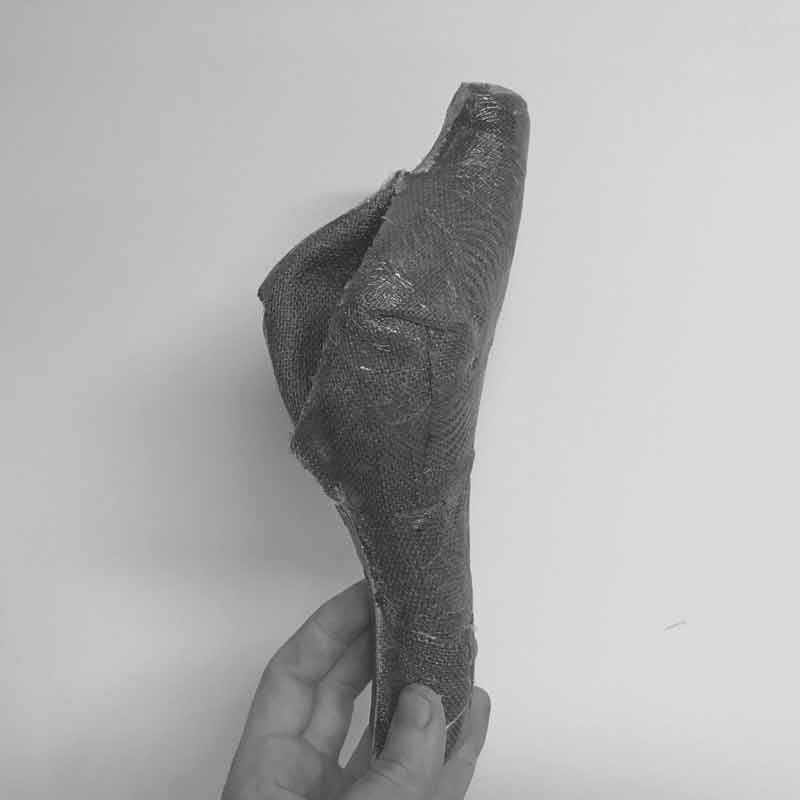
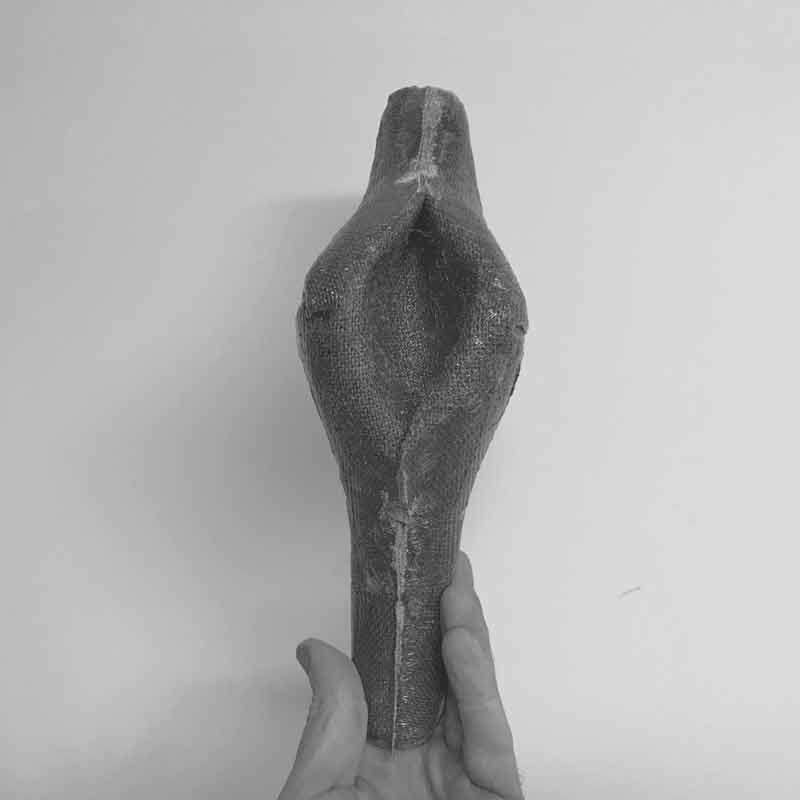
The released piece. Here it can be seen how the material was not optimized to the formwork in some locations. Also, for the inside piece, I should have had one additional piece of form to squeeze the the material to the inner walls.
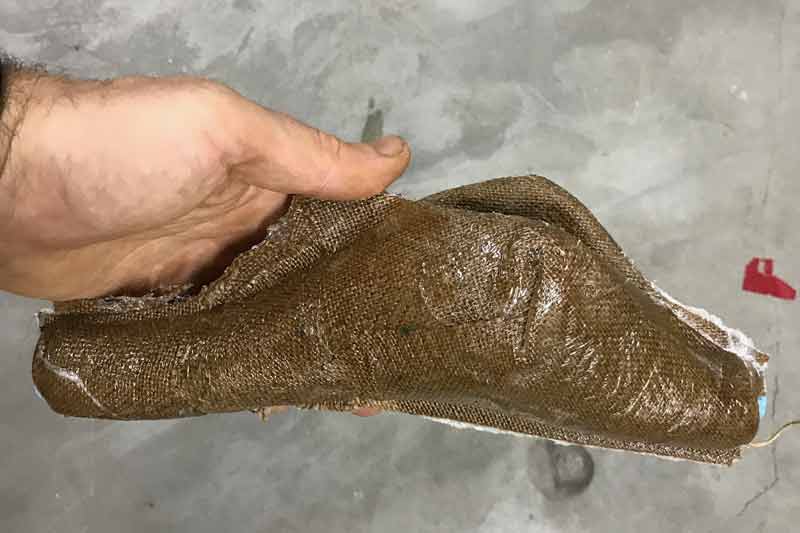
I used a scroll saw to trim away the excess. Hard as a rock.
I will post links to resources I have found helpful here.
Share this post...
« Previous post :: CNC milled wood frame
I would like to use 2 dimensional milling to cut a wood frame to carry the concrete grow modules and hide the electronics. There will be a small cut-out on one side for an LCD which will be displaying data coming from sensors across the system. The concrete casting process was not precise due to some flexure in the walls of the mold. Each module has an extra 4-5mm total width in both directions. So the first part of making the frame was to compensate for this error. I should note, I kind of like the little bit of error...
Next post :: Inventory »
Following is a list of prices and quantities for the second prototype Pure Imagination build. Many of the materials, ie. acrylic, electronics were donated to the project from the fablab, others as part of the Fab Academy inventory/ session resources. For those materials, I checked online sources. The most expensive parts of the build are the chemical components and, shockingly, the silicone for the concrete mold. The silicone mold survives however, and that price would "decrease" with each successive cast. The bioelectrochemical system needs to be optimized for electricity output and material cost, perhaps alternative materials could be found for...