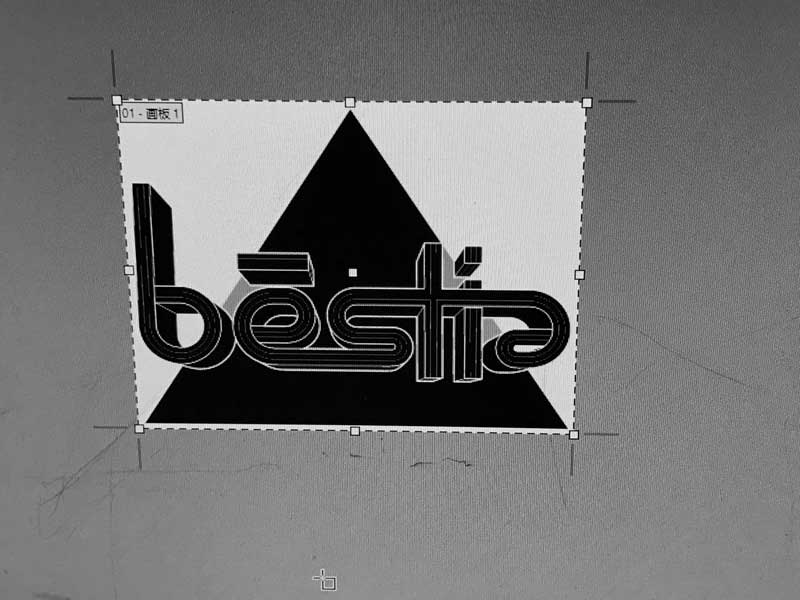
To test the vinyl cutter, I prepared a bēstia logo in Adobe Illustrator. I converted the graphic into a composition of vector shapes using the live paint tool. Now: cut time.
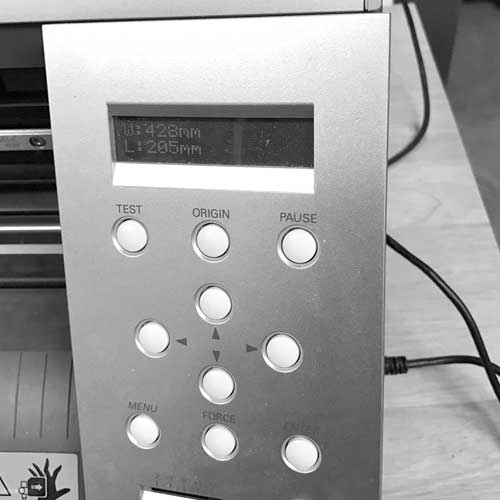
First load the material into the machine. Release the clamp in the back. Align the sheet to the far left, parallel to one of the vertical lines along the front of the machine, and position the wheels to the furthest edges of the paper within the white marked zones. Return the clamp lever to the pressed position and notify the machine material is loaded.

In this case, I used a piece of scrap material loaded as a sheet designation. The machine automatically scans the sheet and records its dimensions. Do not load an oddly cut piece because this sections of the material may not fall under the wheels.
I reduced the artboard for the graphic, removing extra space.
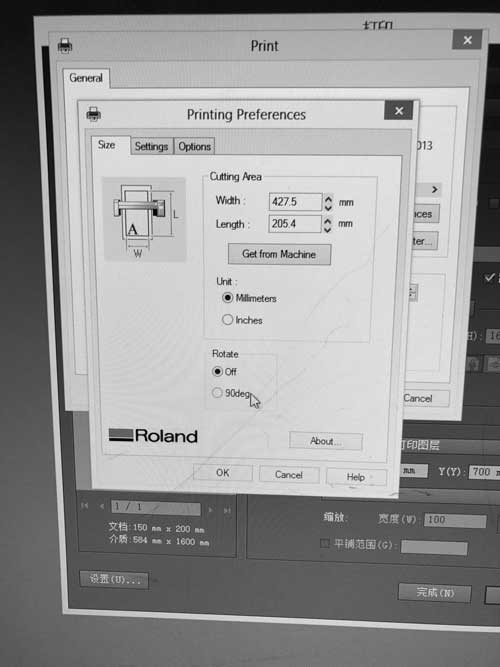
The computer communicates with the device through a standard print dialogue. Within the advanced settings for the vinyl cutter, the size of material can be communicated from the vinyl cutter to the computer.
My material was not cut cleanly resulting in some sticker on the plastic that contains the blade. I think the gaps between the vector shapes were too tight causing the machine to retrace previous cuts and pull up material. Furthermore, the live paint tool doesn’t merge vectors that share edges which further increases cuts. The tool needs to be used very carefully to ensure zero overlaps. So I can increase the space between vectors, scale up the entire graphic, or reduce the complexity. I do not want this test to be too large, so I opt for the latter.
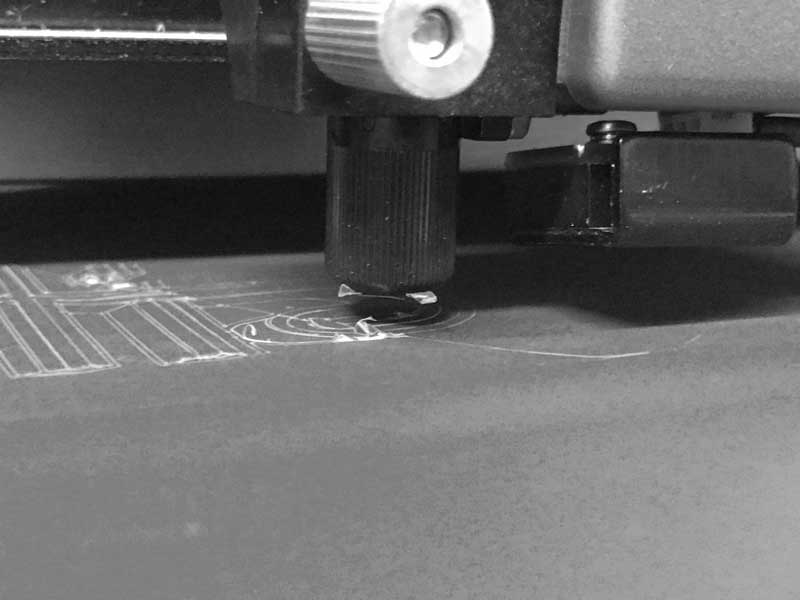
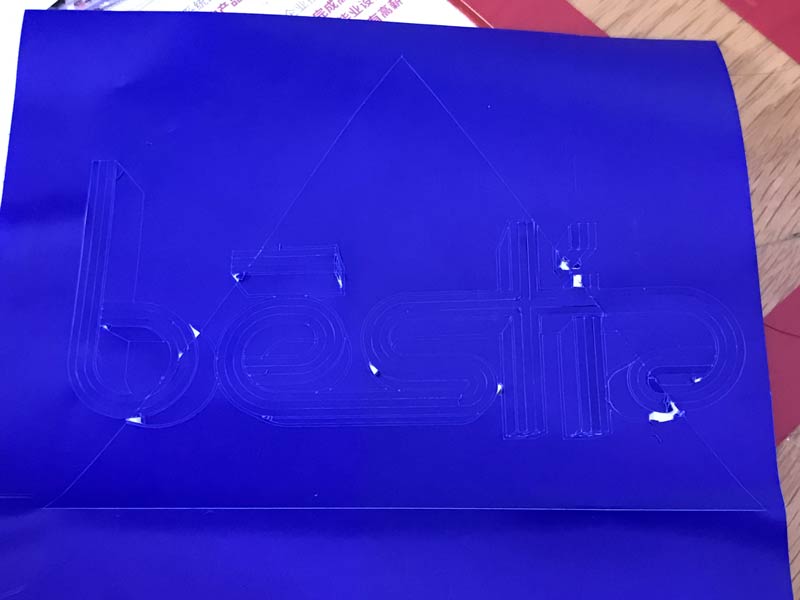
With further investigation I find the live paint tool doesn’t merge vectors that share edges which further increases cuts. In this case, for instance, I do not want the diagonal slice through the black fills. Because this is a hidden split between vector fills, the vinyl cutter will cut along this path twice! The tool needs to be used very carefully to ensure zero overlaps.

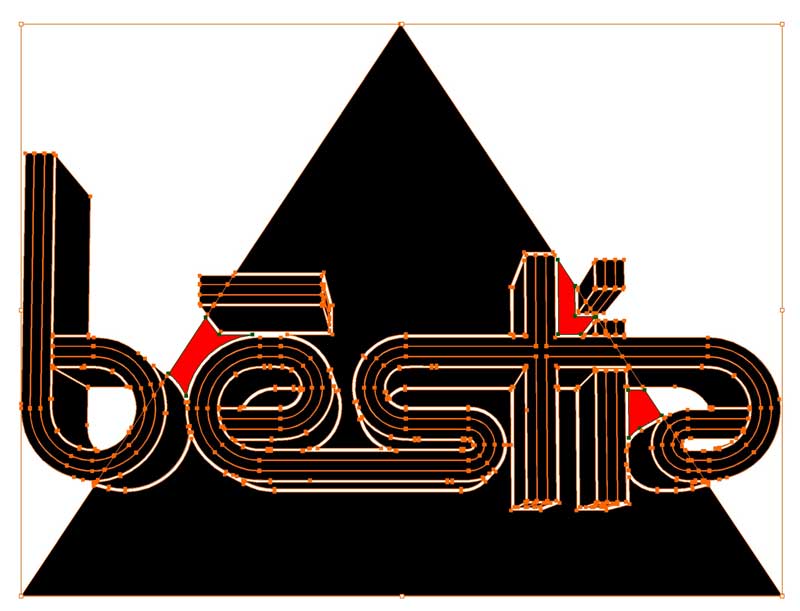
These two images compare the reduction in complexity for my second run. Added bonus, I like the graphic more now. Unfortunately, today the lab only has blue and white material in stock. When black arrives, one of these will find its way onto my computer. Before / After

Somehow the previous file was able to cut directly from Illustrator. This time, not so. There is a plugin in Illustrator to send vectors to Roland CutStudio which is a superior interface for the vinyl cutter. Select the vectors and push the big button to the upper left. Of note, line weight should be 1 pt. Initially I tried .01 pt and the vinyl cutter did not respond.
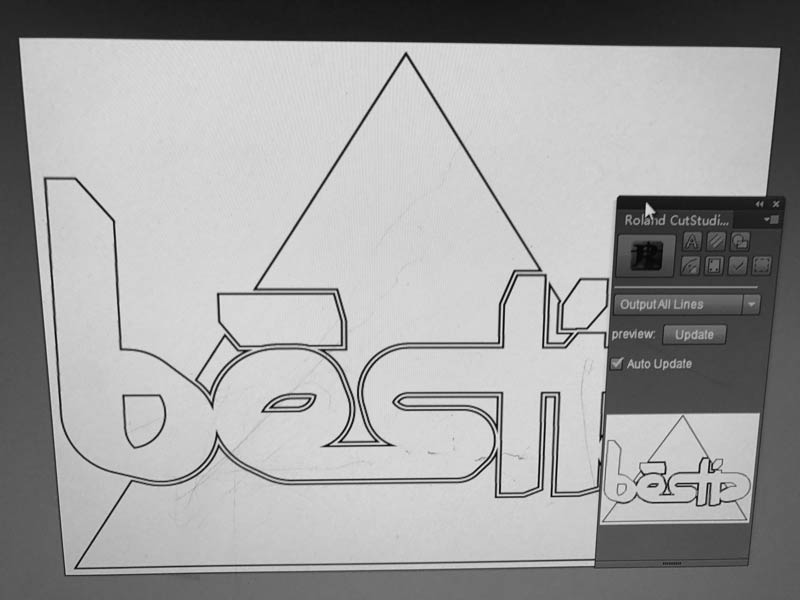
Cutstudio opens a shell. From the properties, the import media size setting from above is available. Then the artwork can be dragged and dropped to an uncut portion of the media on the screen. Finally, choose cutting then print/cut.

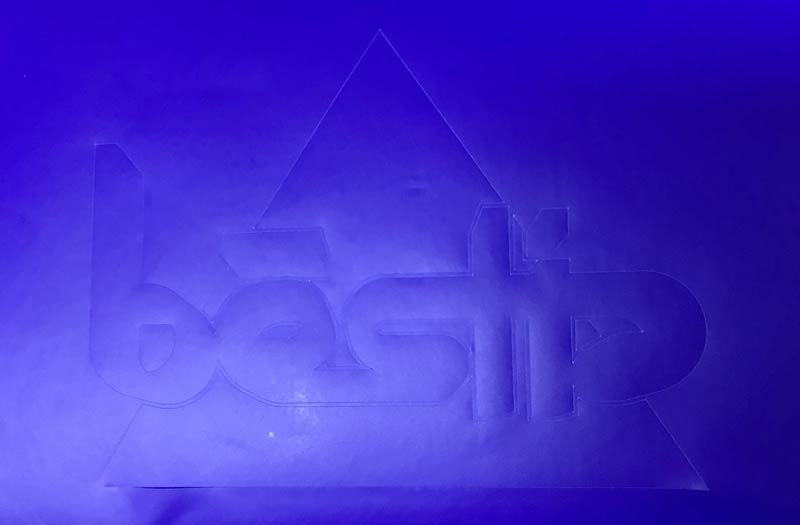
This time the cut was clean. Clean say me! The gaps are down to 0.5mm without problem. In acute angles of about 30 degrees and fewer slight pulling up of the sticker occurs.
I will post links to resources I have found helpful here.
- bēstia : A wild studio full of walkers.
Share this post...
« Previous post :: Grasshopper Parametric Modeling
I decided to try learning the Rhinoceros parametric GUI plugin Grasshopper for the cutting prototype. The Grasshopper project's aim is to make programming easier to understand through an intuitive visualization. The GUI looks similar to Antimony with a model window and a graph window. Scripting nodes in Python, C#.net and VB.net is also possible. Grasshopper is available with Rhinoceros on MacOS and Windows. Launch Rhinoceros. Enter "grasshopper" in the command line. The Grasshopper interface will launch. Across the top are several tabs which contain links to "objects" which are scripts of varying complexity. The primary section of the screen is...
Next post :: Wild Cardboard : Fabbing, Branching, Versioning »
Now the real adventure begins. In a perfect world this would fit together on the first cut. I am going to assume it is not a perfect world and rely on the flexibility of my parametric model to adjust to the imperfections. The first big challenge will probably be successfully bending, or maybe not. I do not have prior experience with kerf pattern flexure joints. If I clear the bending hurdle, the center joints along the ribbons will probably be tricky because I am having to make an assumption on how this will behave prior to building the model. Testing...