Tags
#coding
#electronics
#microCode
Embedded programming
- Environmental monitoring with online data logging to Thingsv
- Grow monitors | What watches the watchers?
- LCD x Arduino
- Programming "Hello to the World" with C
- Breathing light : An arduino experiment
- Datasheet Atmel ATtiny24/44/84
- Echo : Programming.c
- Programming a programmer
- Arduino IDE, introduction
2017 Apr 06
#coding
#electronics
#microCode
I tested the effectiveness of my build with a C program written by Neil Gershenfeld.
The contents of the make file are mostly the same as my previous ATtiny44 board. Because I used the same resonator, the timing fuses are the same. Only the name of the C accompaning C file has changed. Create the hex and out files.
make -f hello.LCD.44.make
Using my FabISP...
make -f hello.LCD.44.make program-usbtiny-fuses
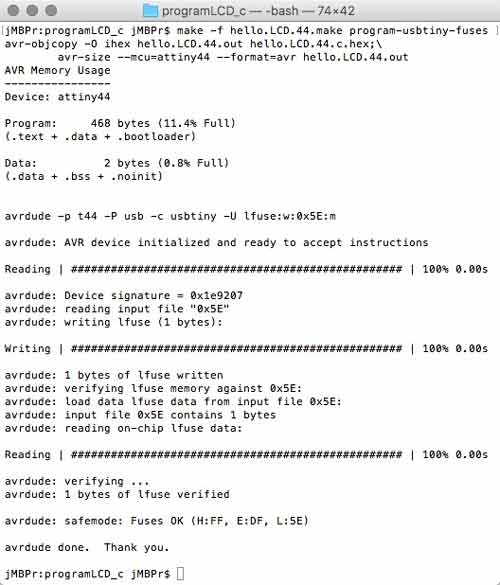
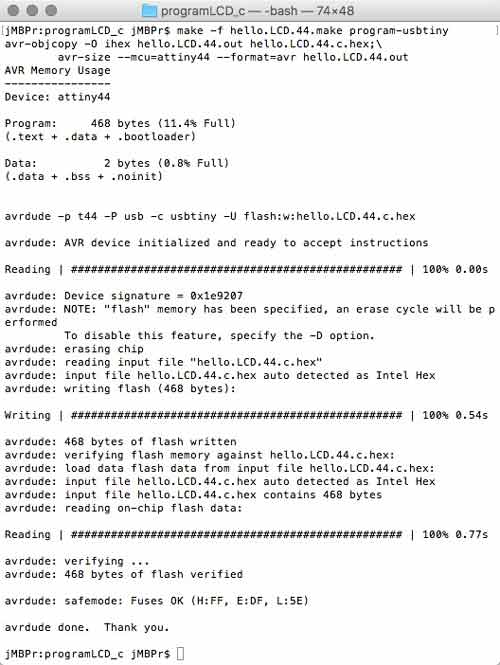
and then send the program...
make -f hello.LCD.44.make program-usbtiny
This feels good.
Download project files
Share this post...
« Previous post :: Fabricating a gestalt stage
After much intense strategic consternation, we decided to begin our project by developing through the Gestalt framework. The framework is developed; we are beginners. Can we connect rotary stages on either side of a linear stage equipped with a brush effector? The idea is similar to a common CNC machine. Wheels mobilize the whole assembly along an infinite X axis. A stage holding an effector moves a limited distance between two wheels (Y). The effector moves a minimal distance along the Z axis. The first step is to fabricate a linear stage. Download the Rhinoceros file and you may need...
Next post :: LCD ATTiny44 PCB »
I am using a Lumex 16*2 character LCD Module. This LCD only requires 5v and six data pins to get up and running. I do not have a PCB with the free pins or proper configuration to use with this LCD. Not a problem however, because I have learned my way around designing, milling and stuffing PCBs. Get it. I started by inspecting Neil Gershenfeld's example LCD board. I posted a low resolution copy of the image here for convenient reference. The linked version is better. While following this is great for a beginner like me, I quickly became aware...